One of the excitement of the adventure motorcycle is the DIY nature of this sport. Sure, you can seize large cash for new motorcycles with guarantees and lots of luxury and electronic tools (and a lot of reliability), but you can also break up with just a few hundred dollars on the bike used and spend some time and effort to make it all your own. When I dragged my current ADV bike, 2003 BMW F650GS, from the back of Carport contacts in December 2024, it almost did not run and covered in a thick layer of delicate New Mexican dust. One evening that took care of some of the delayed maintenance and small repairs had another invasion, and new brakes and tires made it a way.
Big plans on ice
With my views set on spring visits through five western states, I continued to tweak bikes to ride long distances and go to many winter sprint shake-down through the high desert of Pesona. At a run in January to Jemez Mountains north of Santa Fe, a ghost factory grip heater. With temps hovering around 25 degrees at more than 11,000 feet near the Valles Caldera National Preserve, this is not appropriate. On a cool trip back to my base in Albuquerque, I made a mental note to set shaky accessories, but never followed.
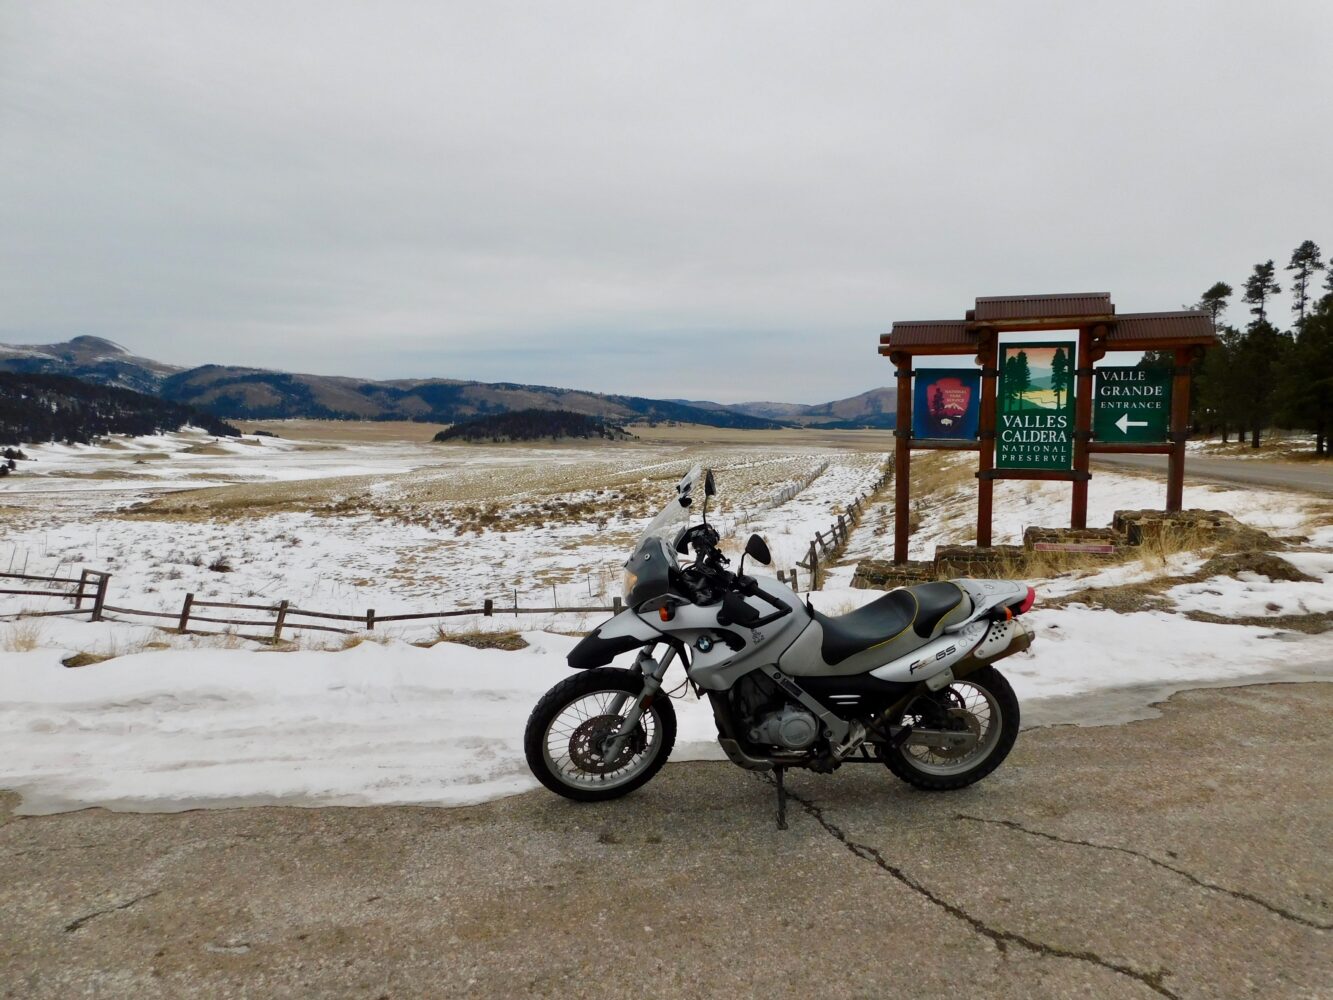
It’s cool at 11,000 feet at Jemez Mountains in New Mexico.
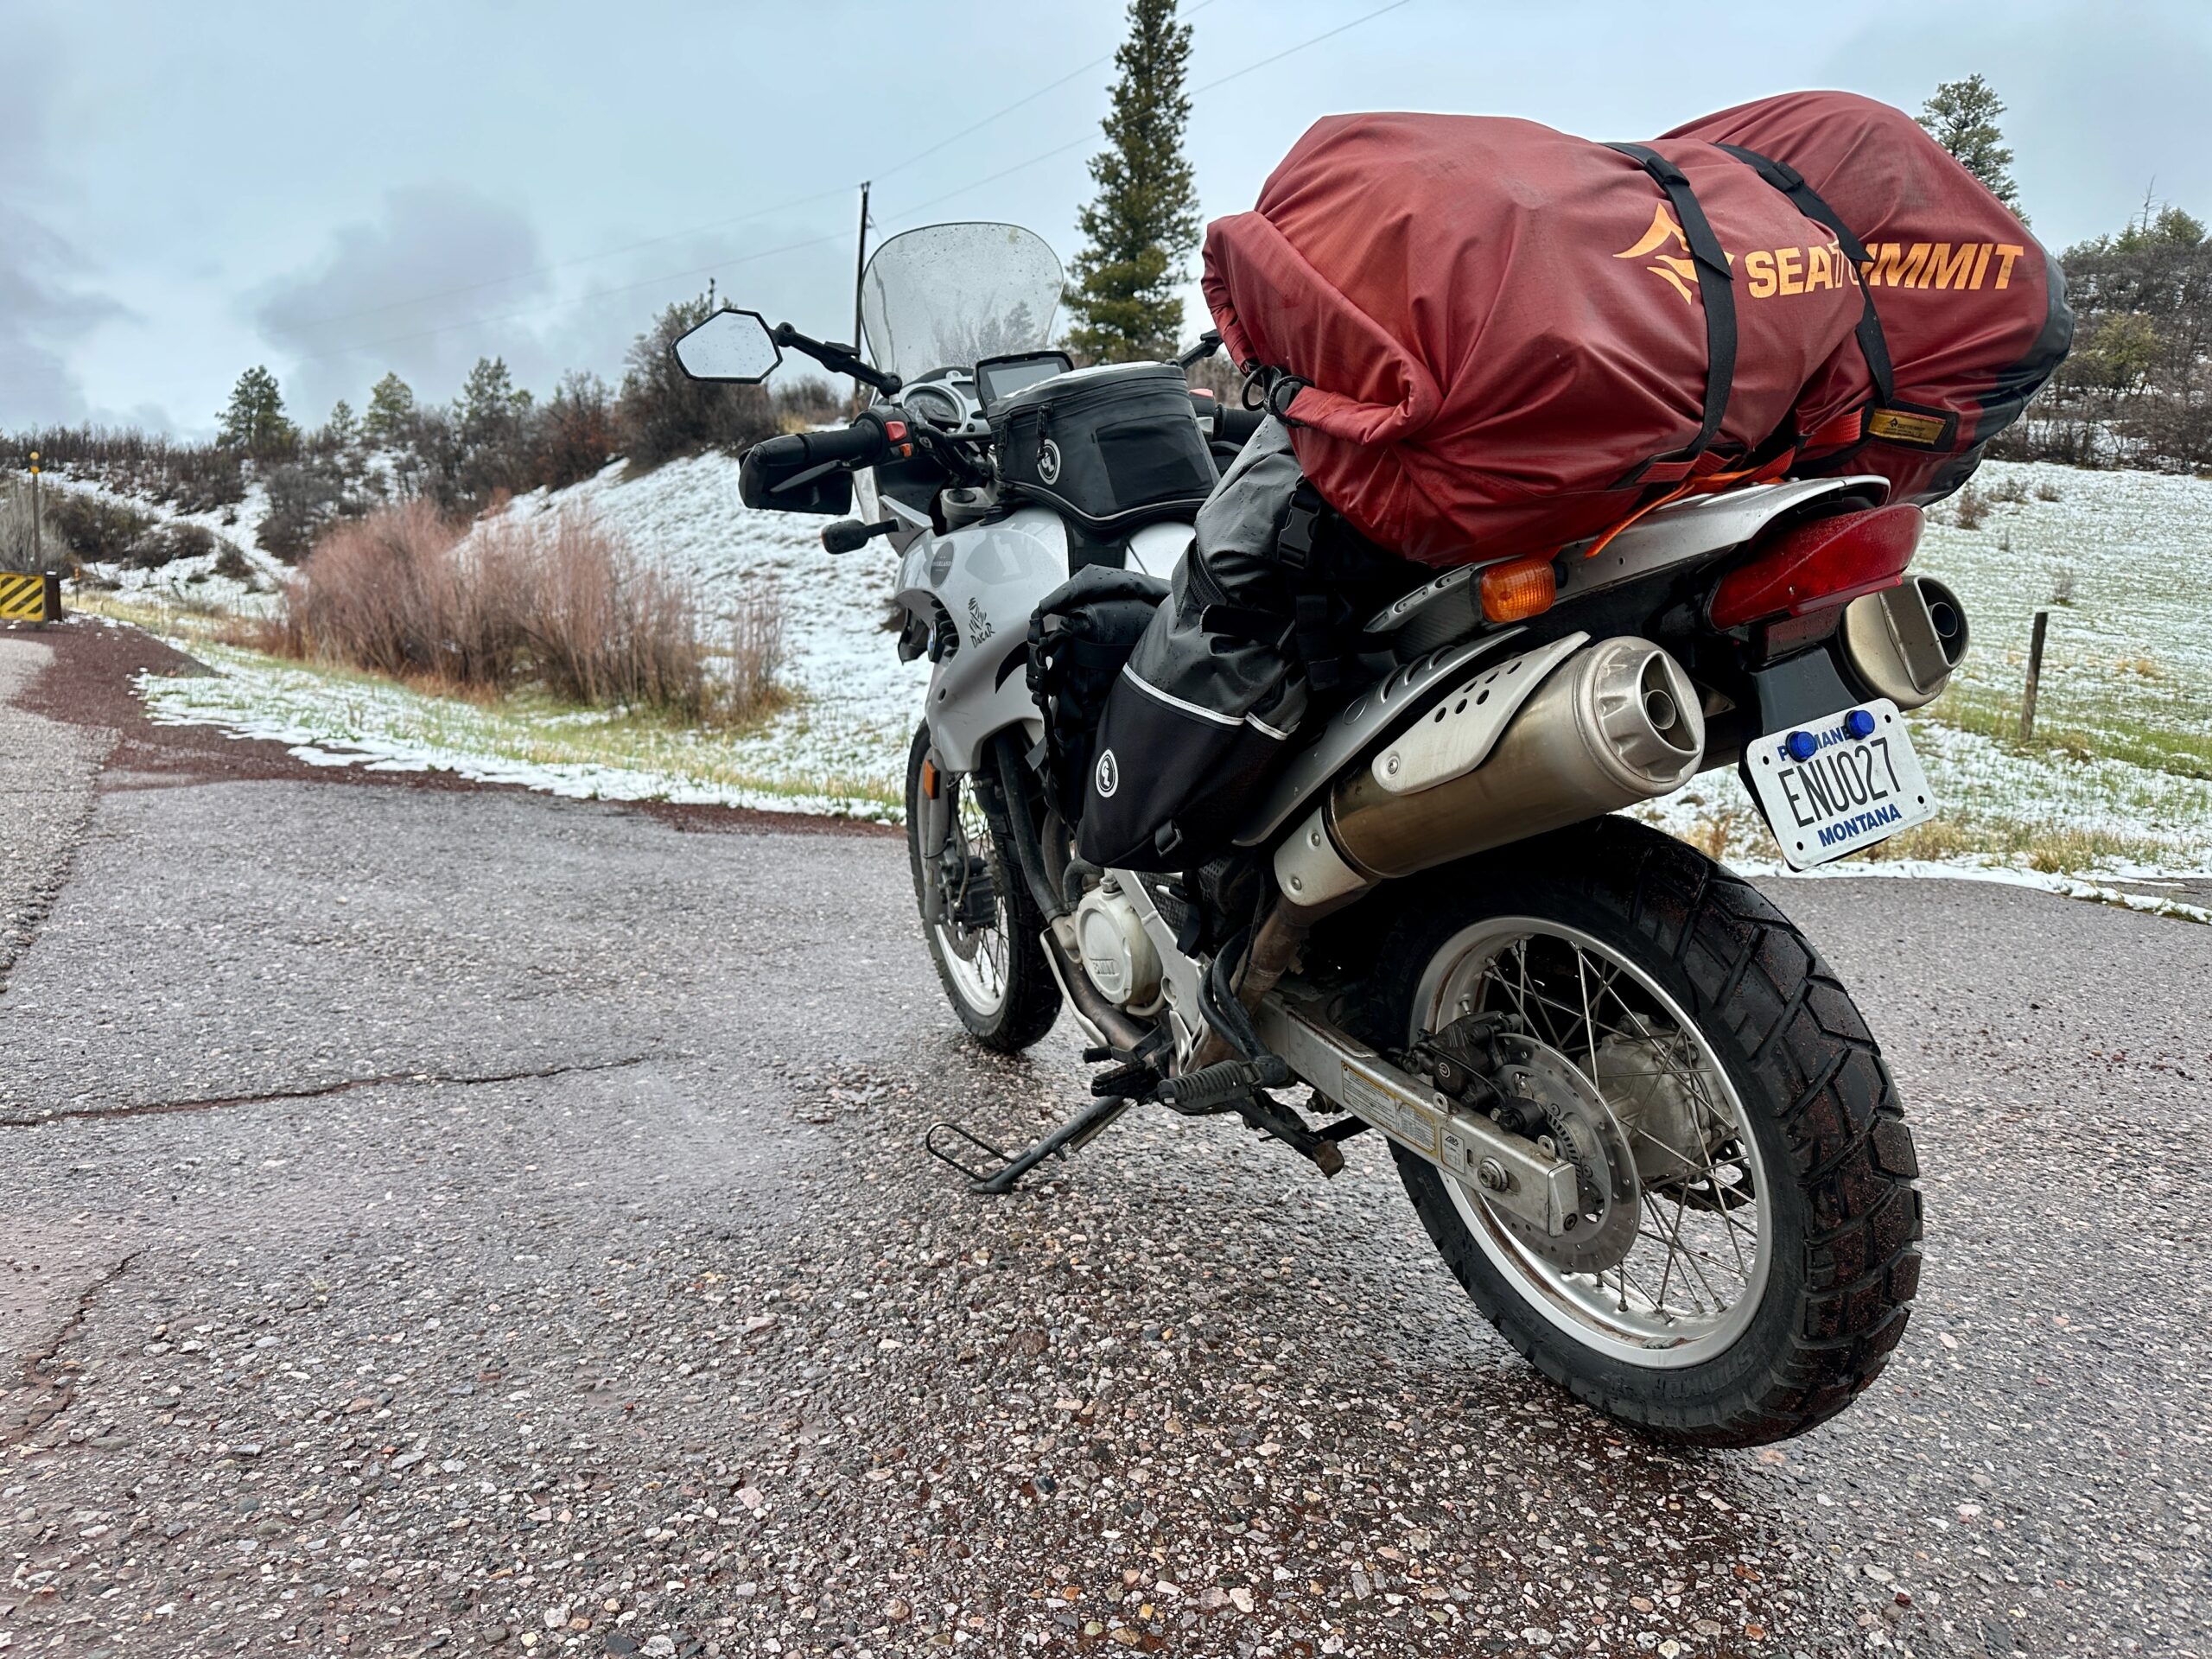
My failure to solve the heated grip problem haunted me four months later when I was sad for my old adventure to the north. In the morning I left Albuquerque soaking wet, and I rode the rain all day turning to snow as I crossed to Colorado. Cursing me unpleasant, I beat it until I reached Utah, where I was frozen I was rejected by better weather. But my fate ran again a few weeks later when I rode another snow head in West Wyoming on my way through Jackson Hole and Yellowstone National Park.
-
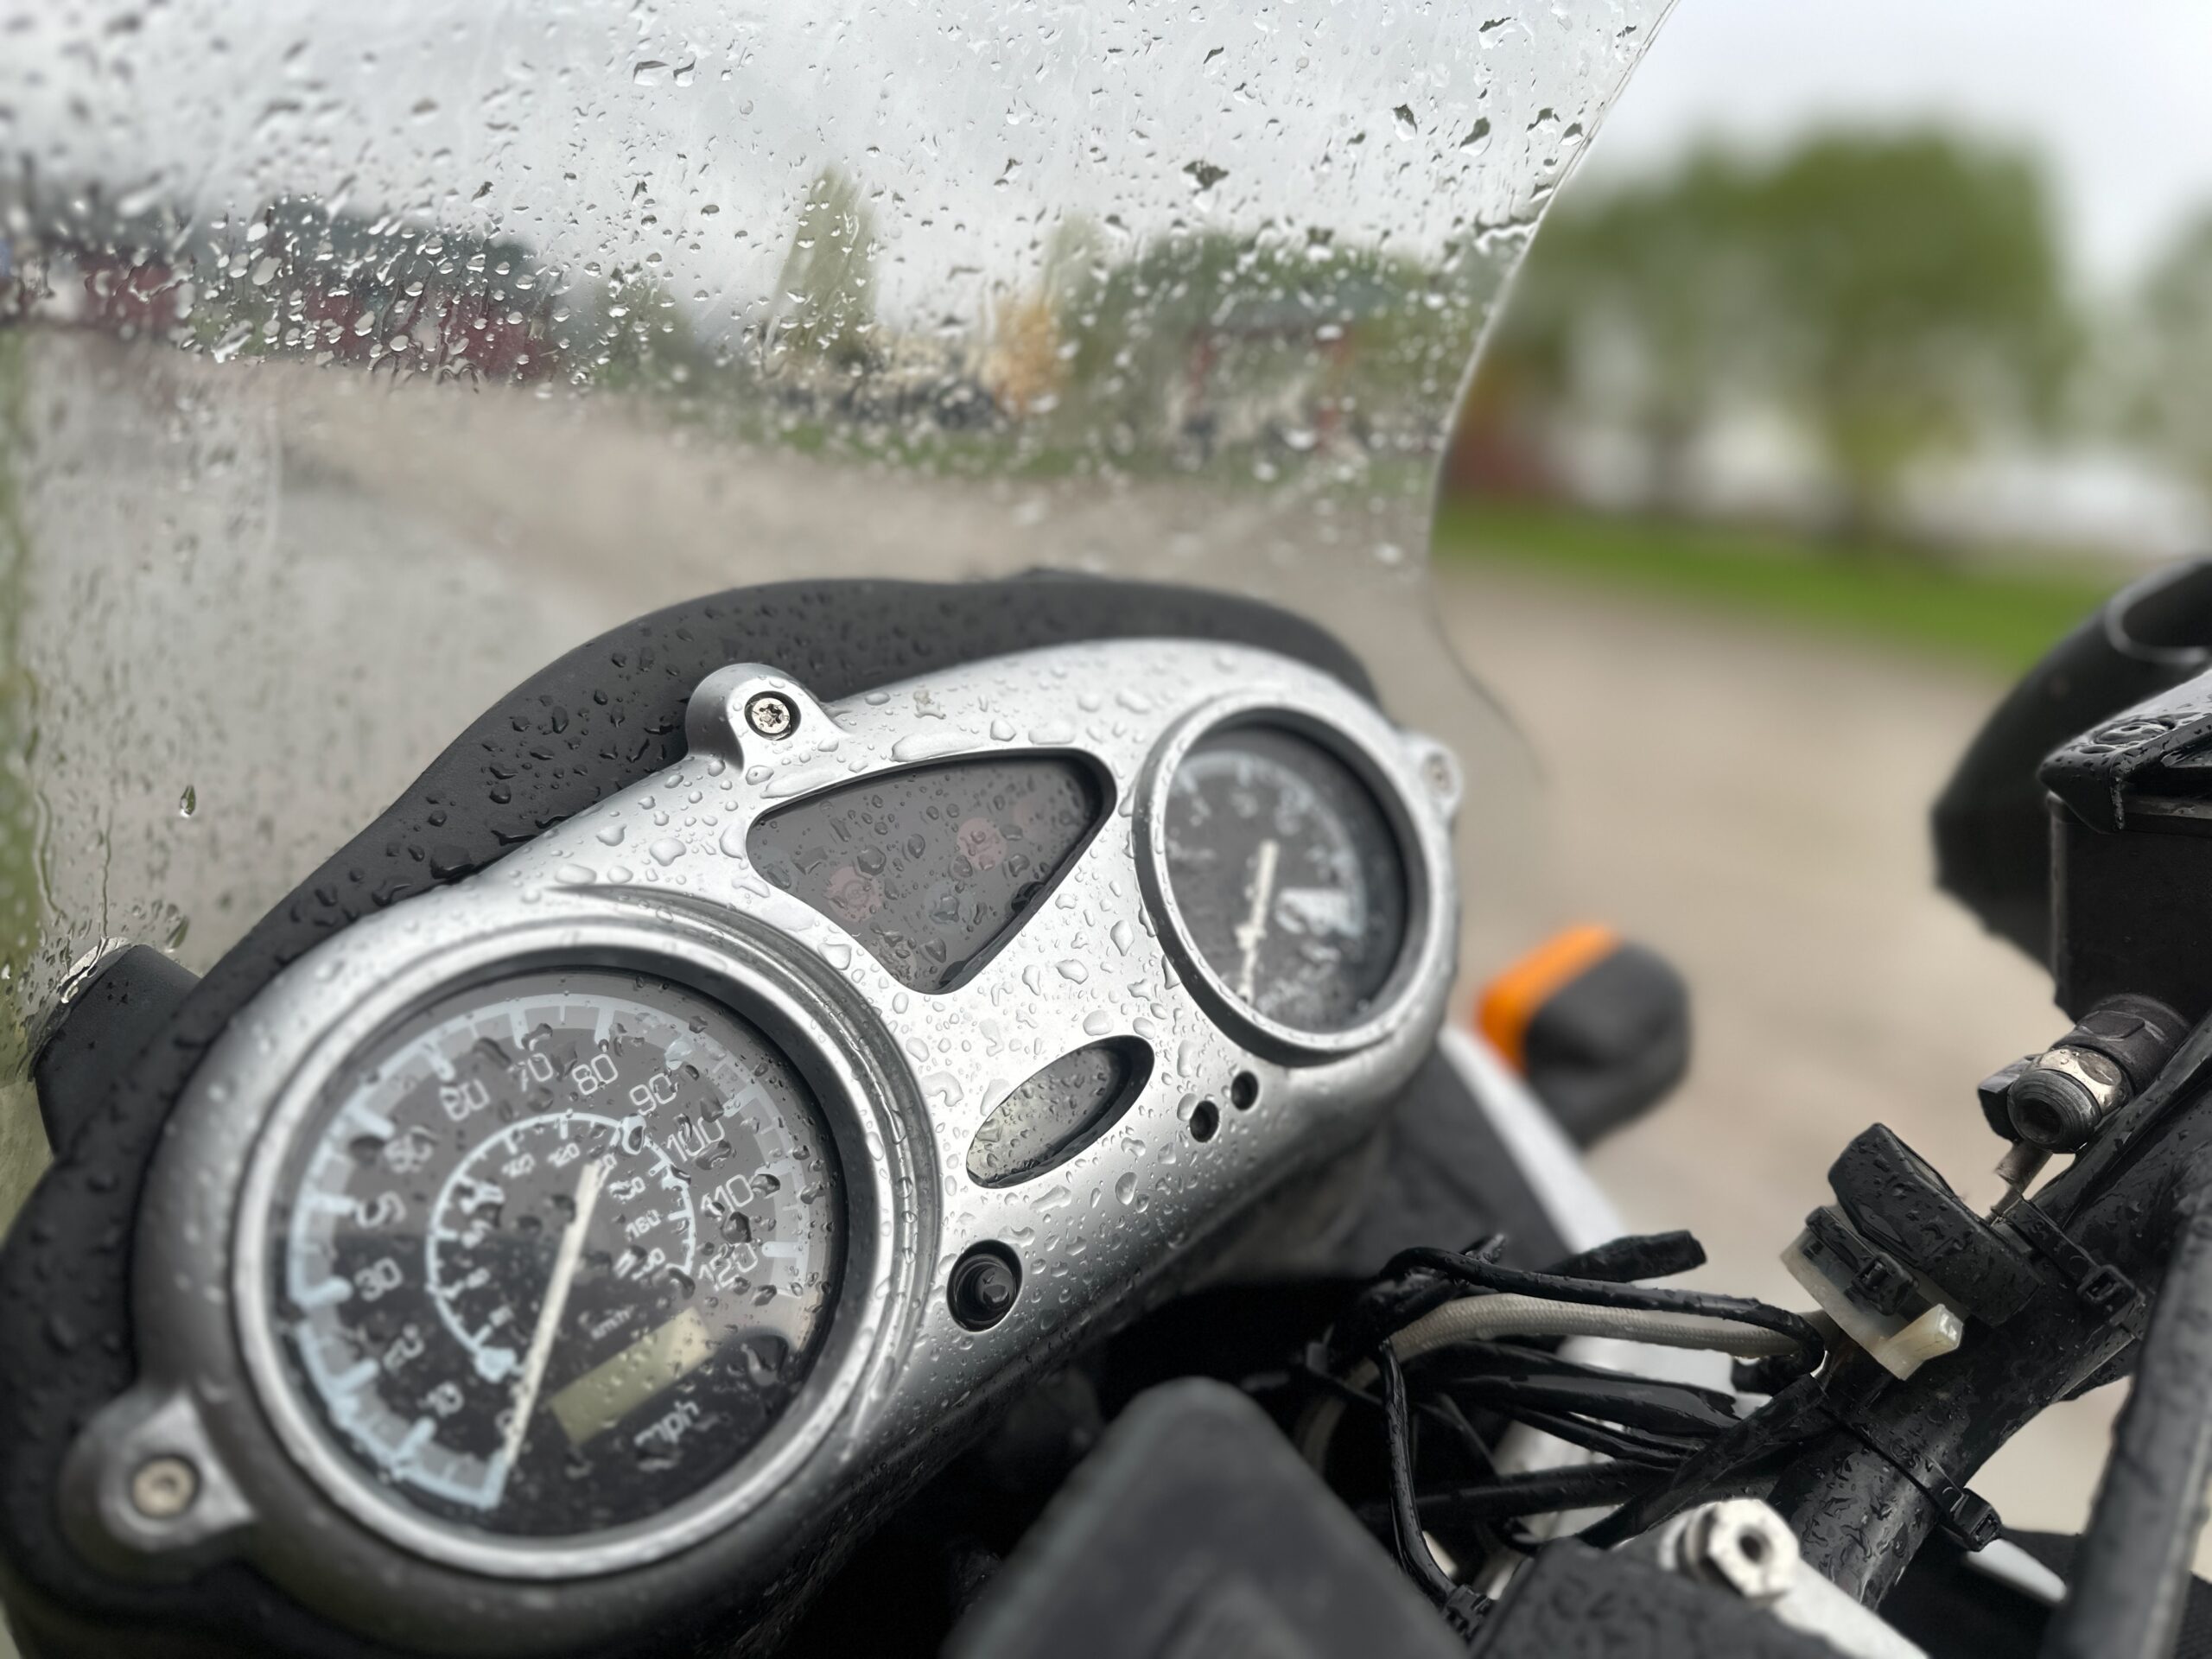
- The rain and snow crush me on my spring trip in the shadow of Rocky Mountains.
Get a grip
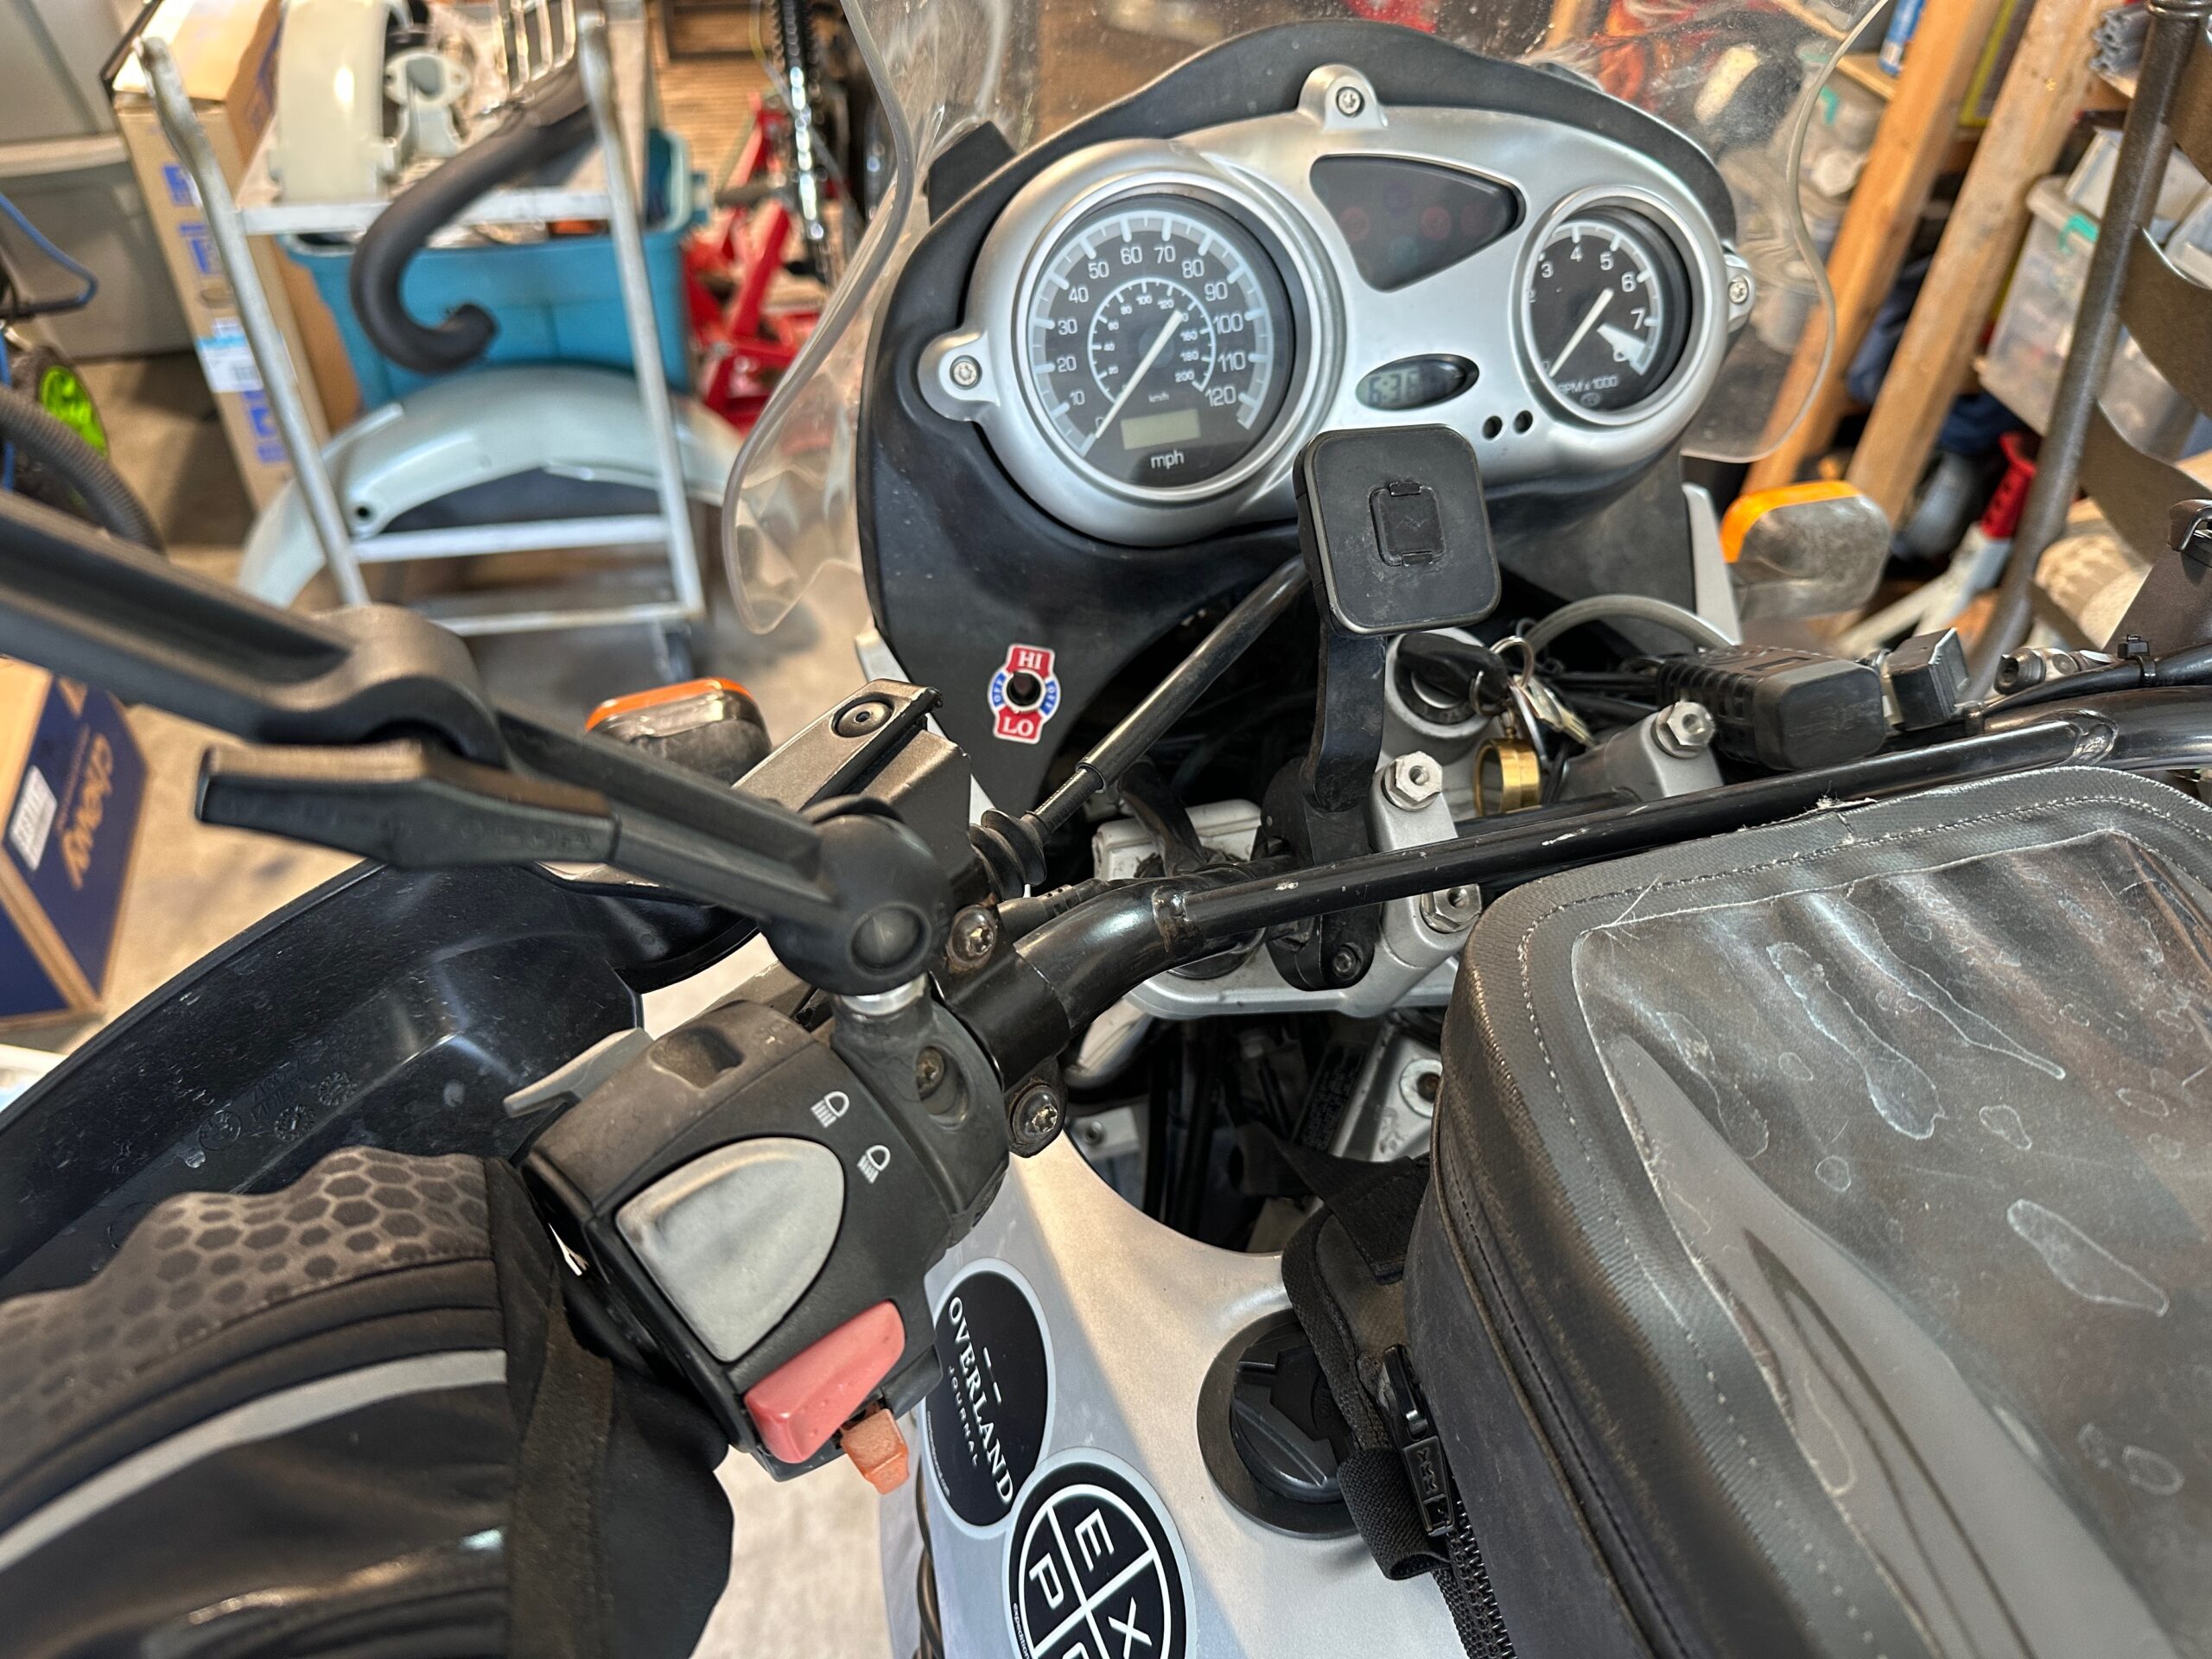
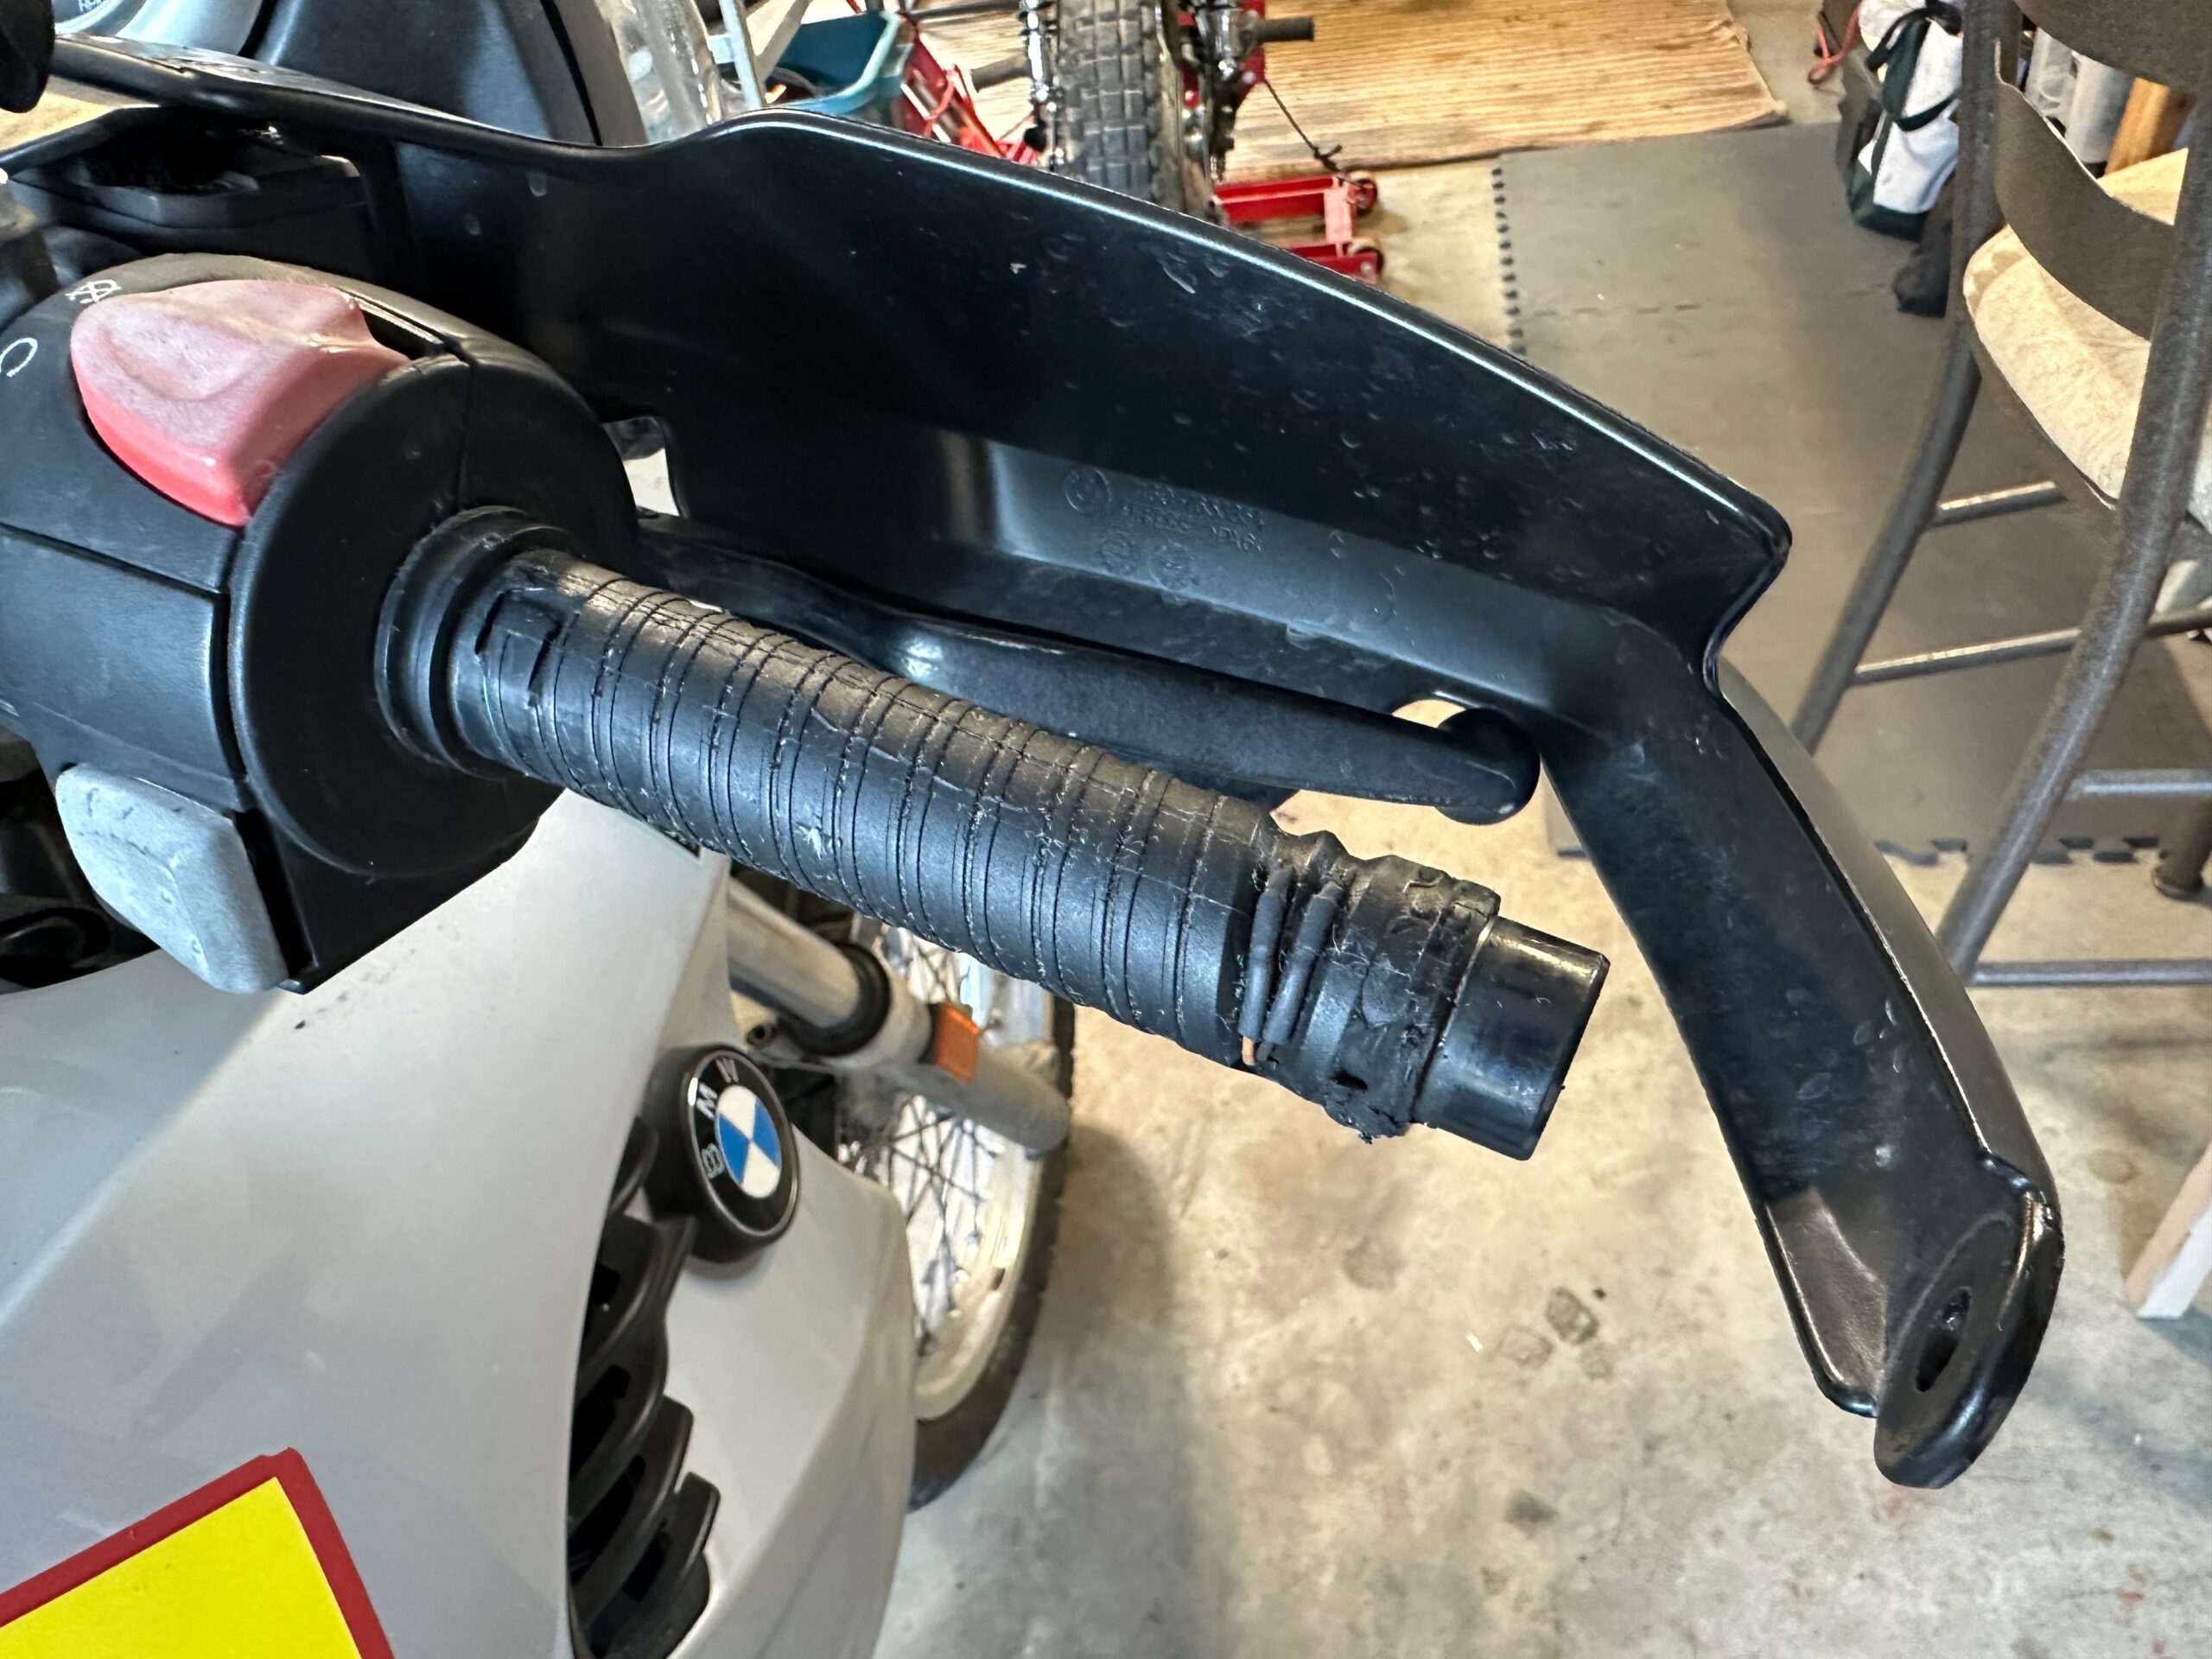
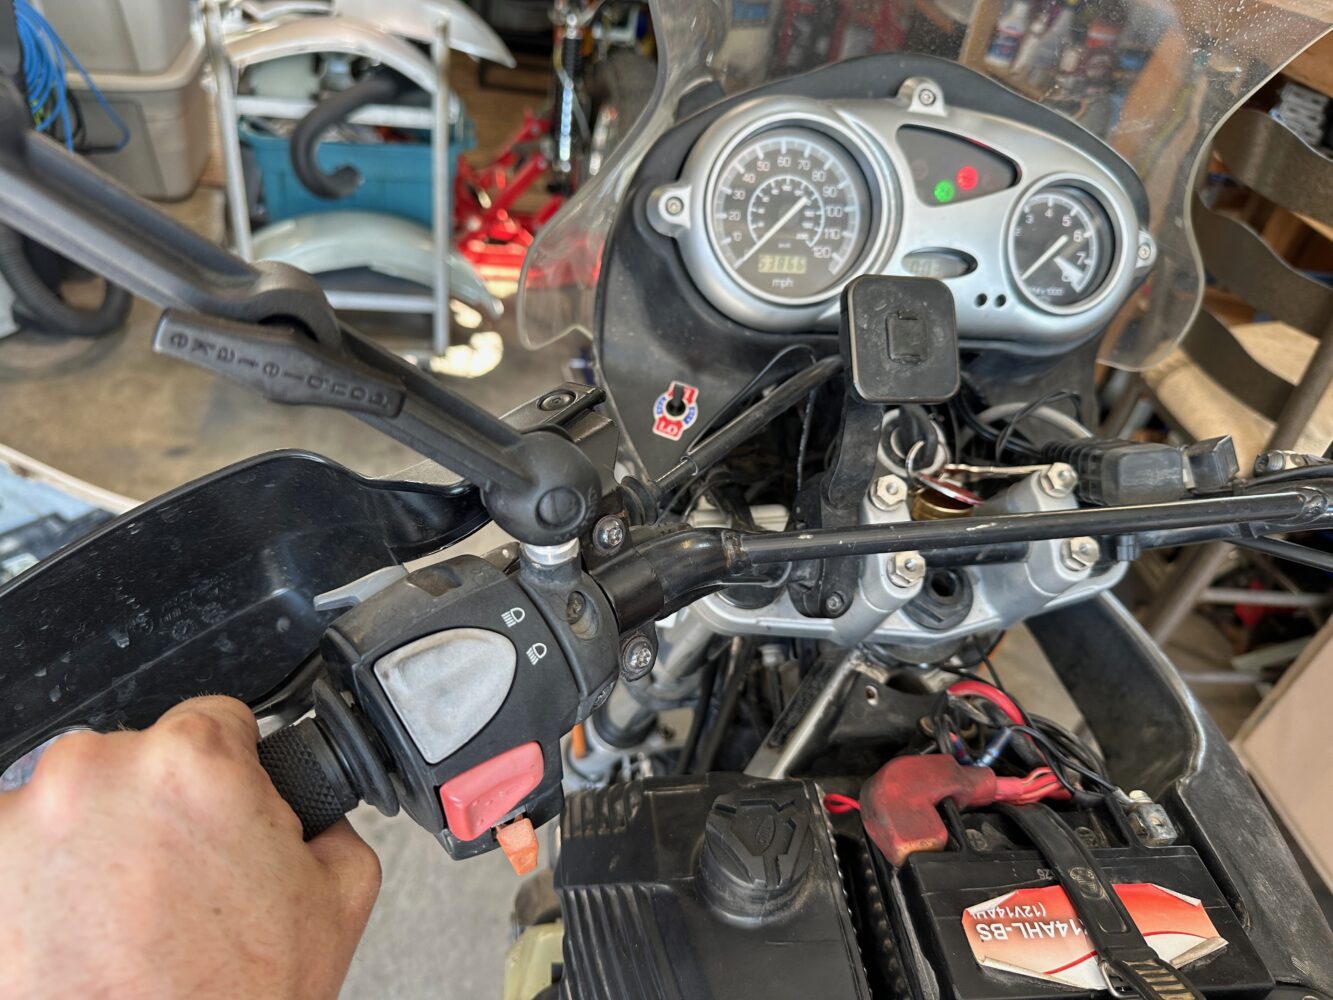
Finally the house in Montana, of course, is the time to find out the clutches that are heated to my GS. The failure of the OEM system goes down to the broken heating wire in the grip itself, which cannot be repaired. The heated grip is not just luxury. Keeping your hands warm up the riding season in the northern latitude, and in very cool conditions, they also play a role in the safety of riders. The weak and narrow fingers reduce the two flavors and agility in the control of the stick, the time of the reaction and the feedback. New or even used original replacement for my bike is very expensive (thanks, BMW), so I looked at the market afterwards. With the unique arrangement of the F650 throttle tube, I need a universal and not specific kit to create and a specific model. I used $ 23 my own money to buy a Tusk grip heating kit from Rocky Mountain ATV and Motorcycle.
Installation of Tusk Heating Kit
Any universal accessory, especially electricity, requires some tweaks to meet the exact requirements of your bike. The Tusk kit helps in front of its simplicity, the clarity of the instructions included, and many additional lengths in the wiring. Rocky Mountain also has a deep tutorial catalog YouTube channel to help guide the road. The general principles of the steps below can also be used for other generic grip heating kits.
The Tusk kit comes with its own grip heater, the required wiring, together with the switch for both low and high settings, and a handful of electric connectors (more later).
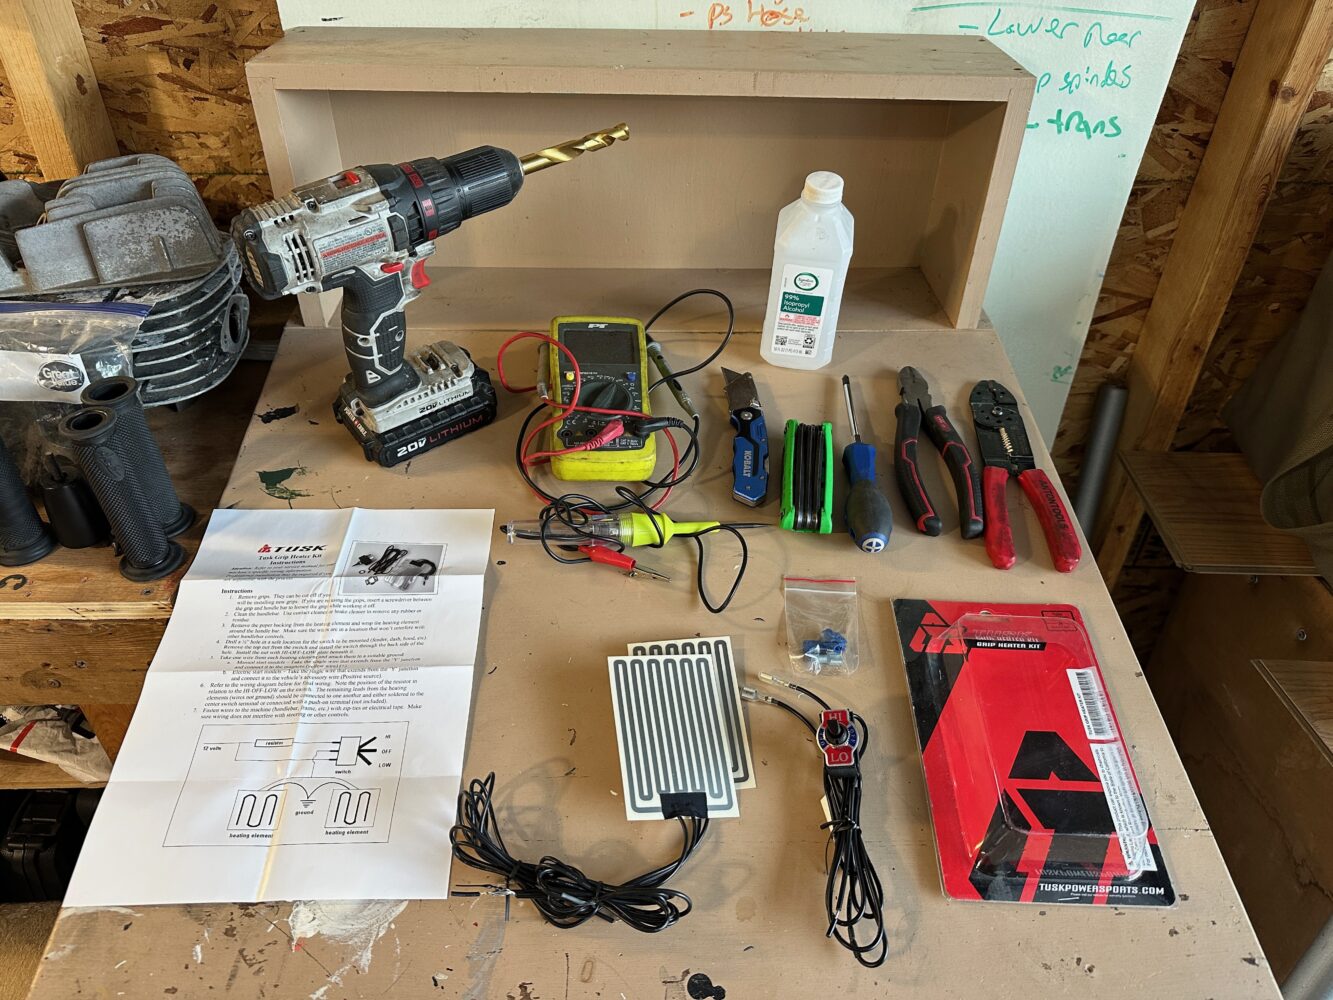
1.) Install your tool kit ahead of time helps keep your installation efficient and on the right track. Tusk recommends tools for removing certain bike fasteners (screwdriver, allen wrench, or star beet), sharp knives, naked dancers and crimping tools, diagonal cutters, test light or multimeter, and power drill with 1/2 drill bits “.
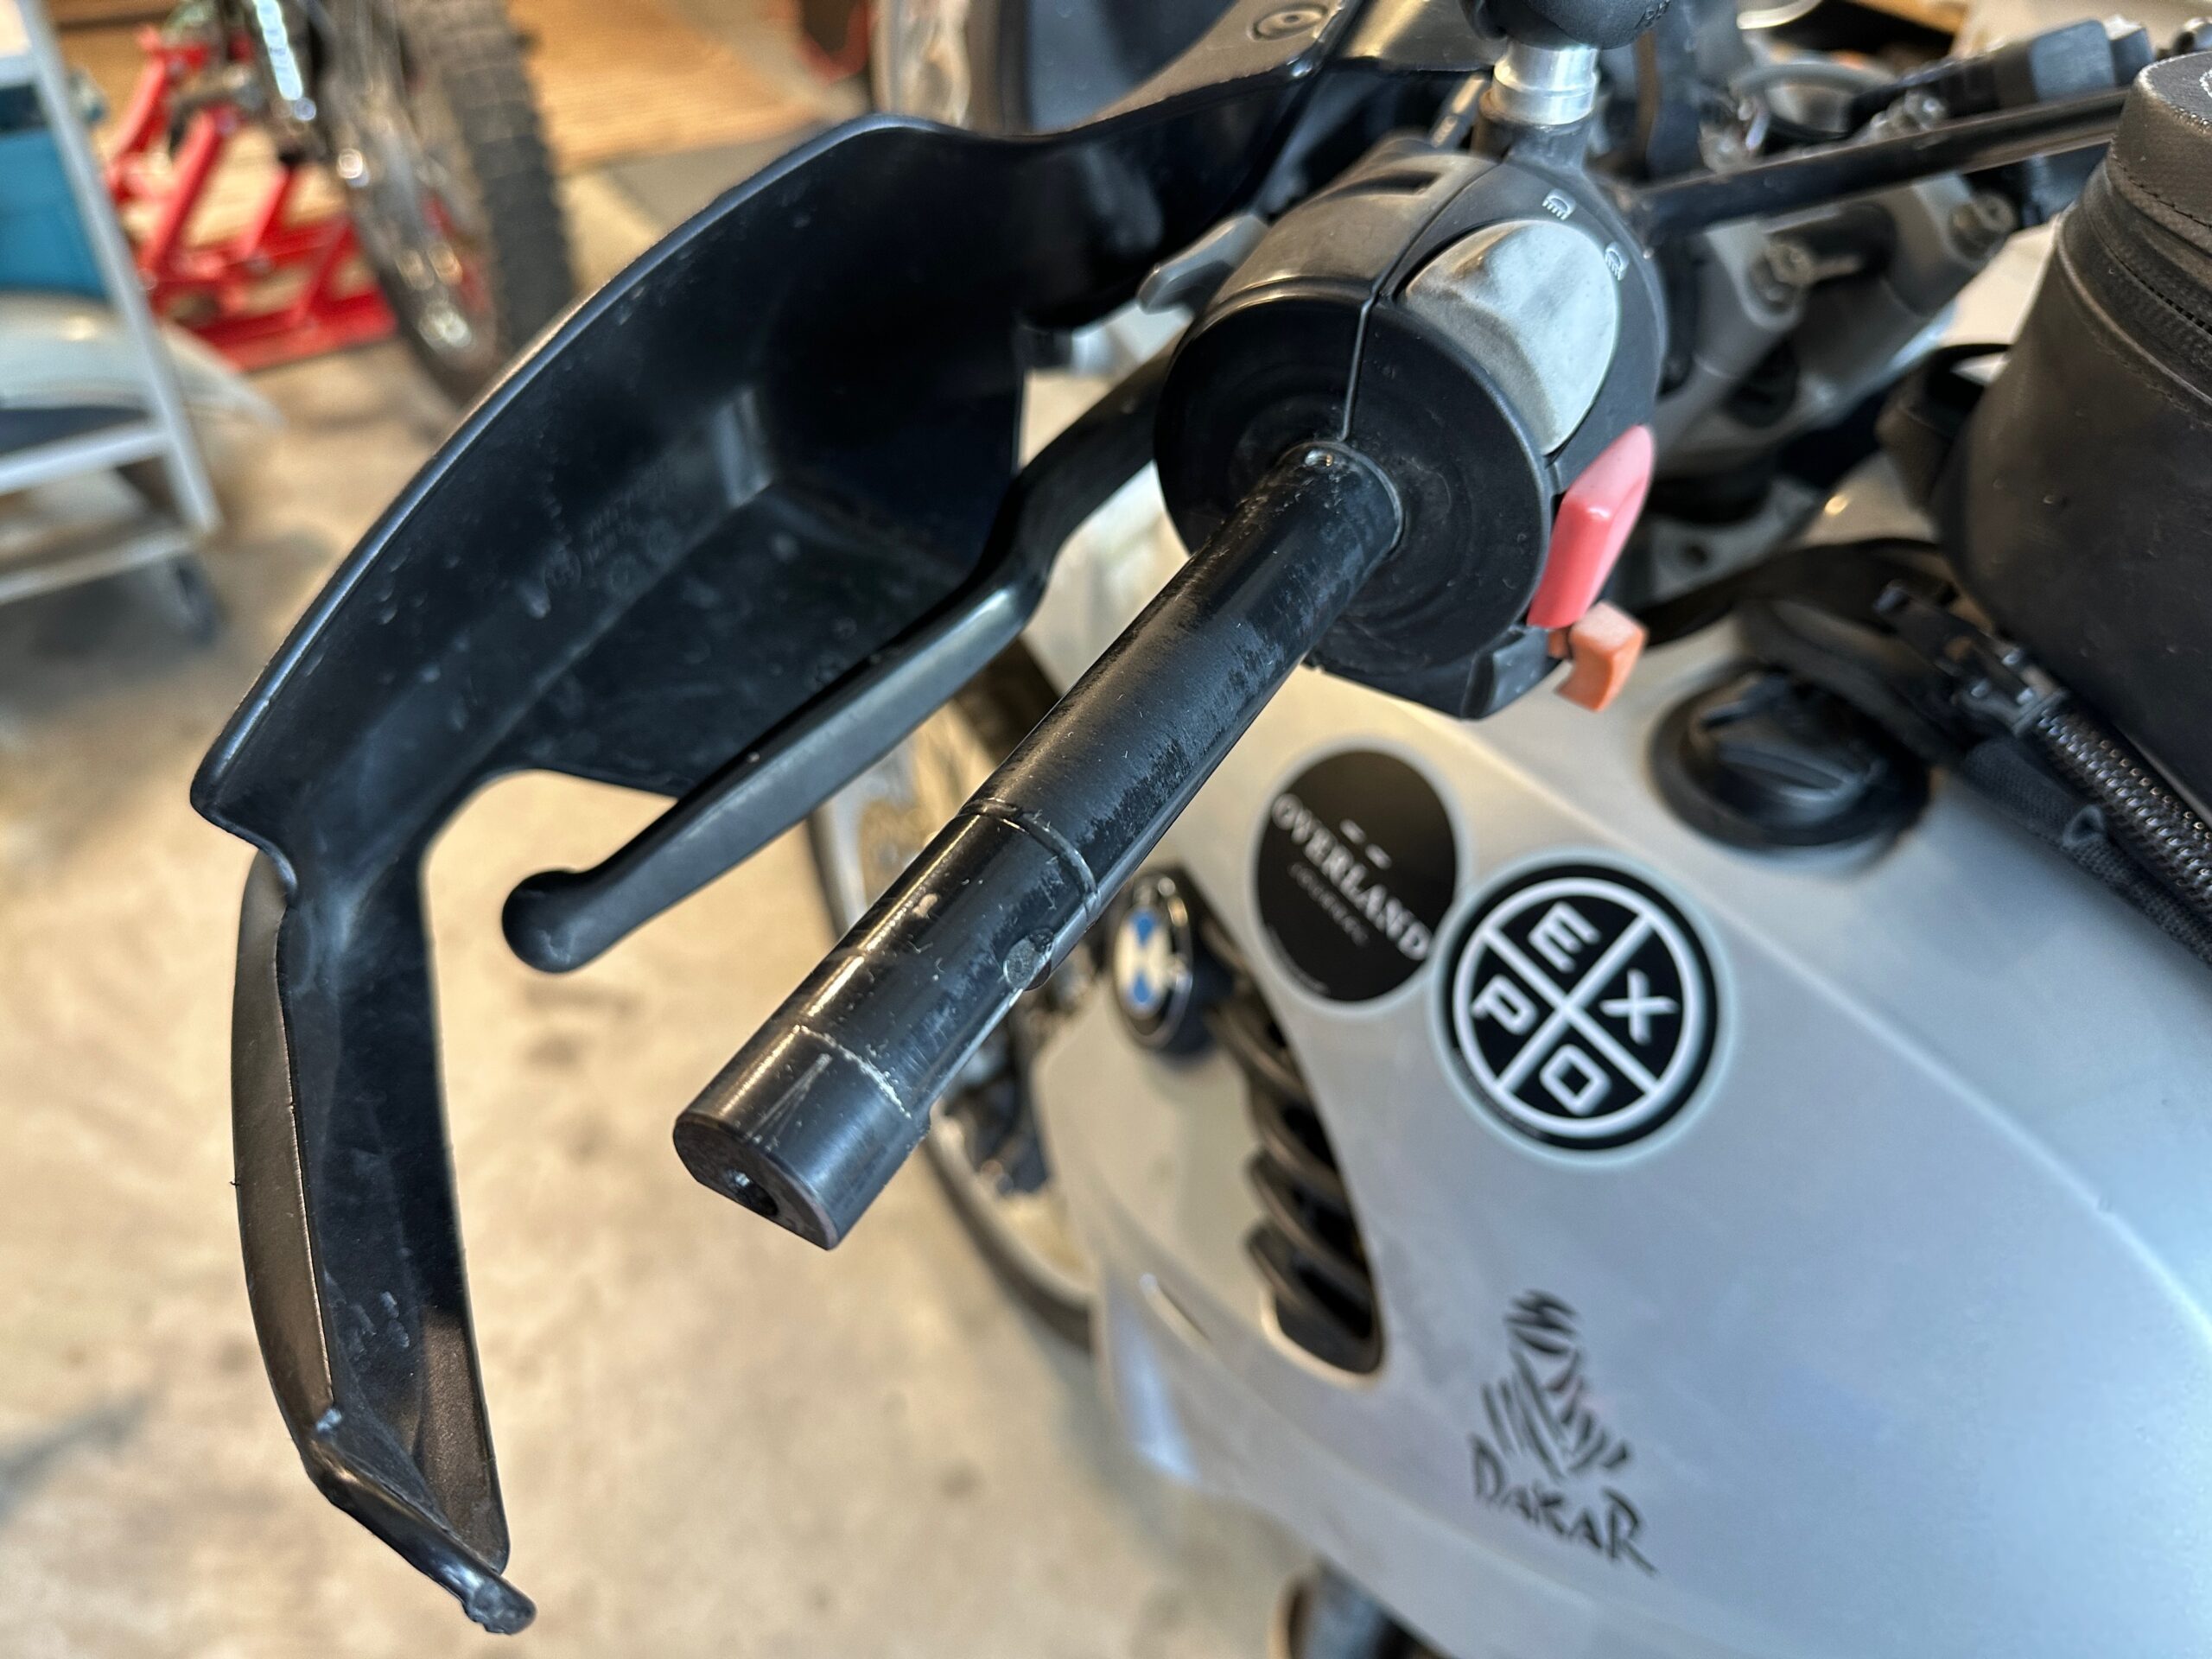
2.) Remove your old grip using compressed air, lubricant, or simply slice it from your handle with a sharp blade is the first step. Use carefully with a razor blade, good for your own meat and for any wiring or paint on a motorcycle. Clean the surface of the stick exposed to alcohol or other solvents, scraping any of the old grip glue or other waste.
-
- Make sure the installation surface for the heating element is very clean.
3.) Relax the wiring from each heating element to measure its length and mock the elements of the goods -This is an important step to ensure that you have enough wires to reach your switch location and power source, as well as a wire far from the hot and moving parts.
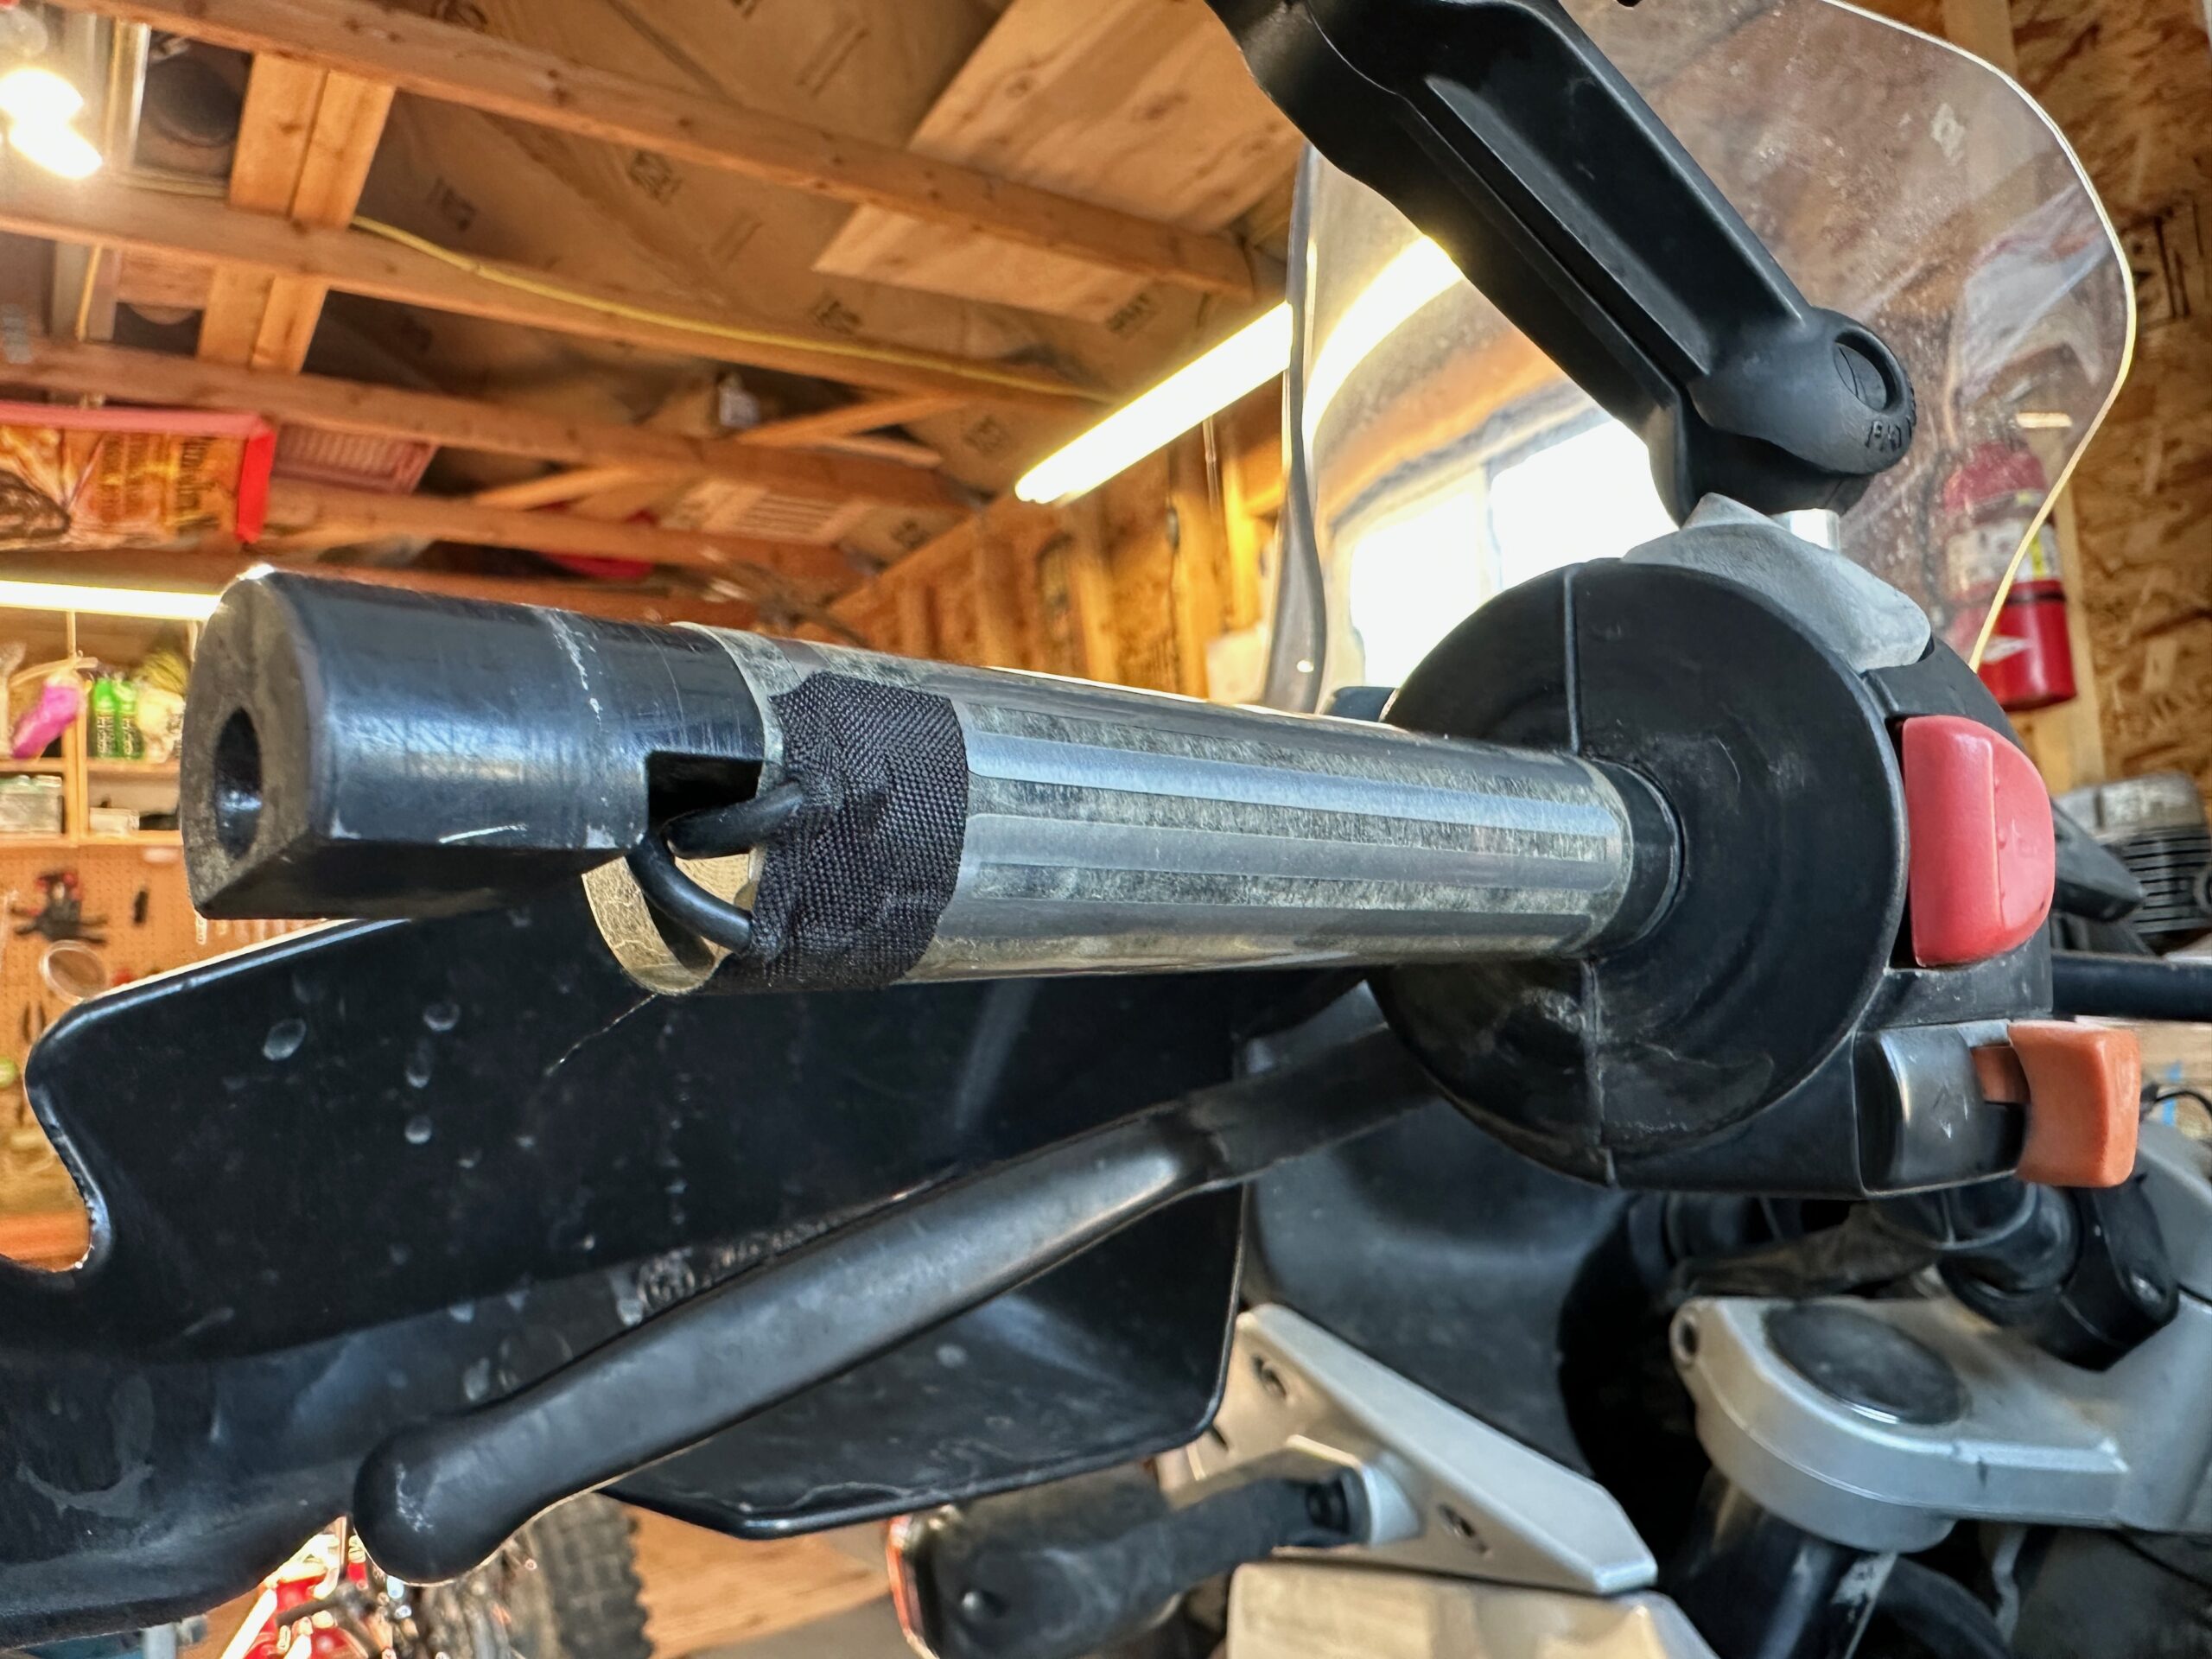
Getting the heating element position on the handle throttle is key. You need enough sagging in the wiring to allow the throttle -free movement, but without placing tension on the solder that holds the wire in place.
Allow enough sagging in the heating element wire for the full movement of the throttle.
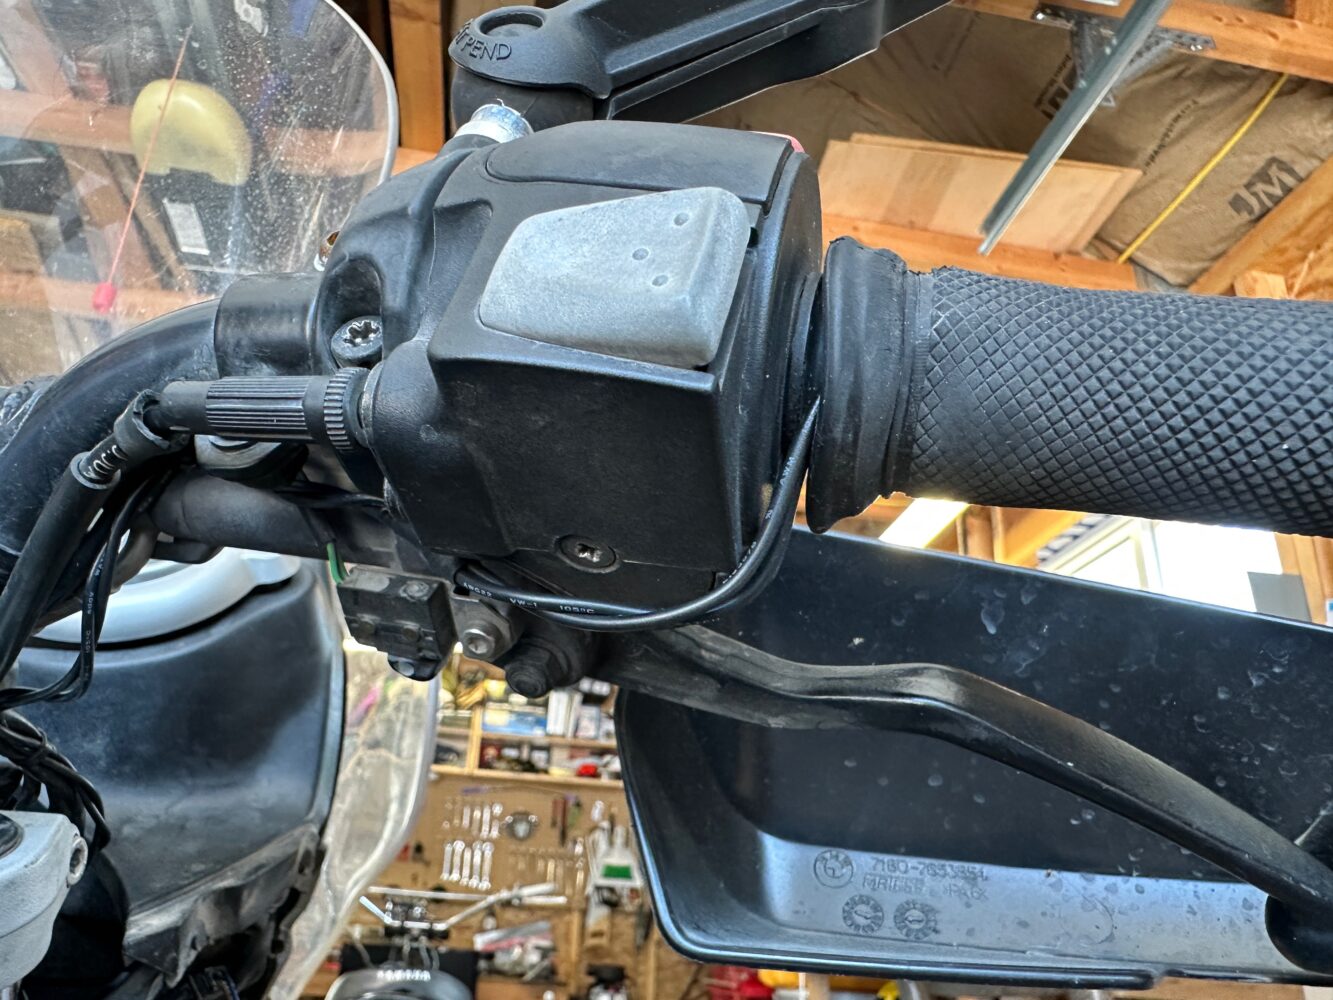
4.) This is a good time to identify your power source, a clean and secure place to attach a ground wire, and the location for installing a control switch for a grip heater. Reject the temptation to tie the kit directly into the battery (sometimes the simplest solution), and find the ignition power source. With splicing into the power that depends on the ignition, you reduce the risk of accidentally leaving the heated grip when the bike does not run and drain your battery. I use OEM power wires from my old grip system-test or multimeter test (along with factory wiring diagram) will help you identify the power source of ignition.
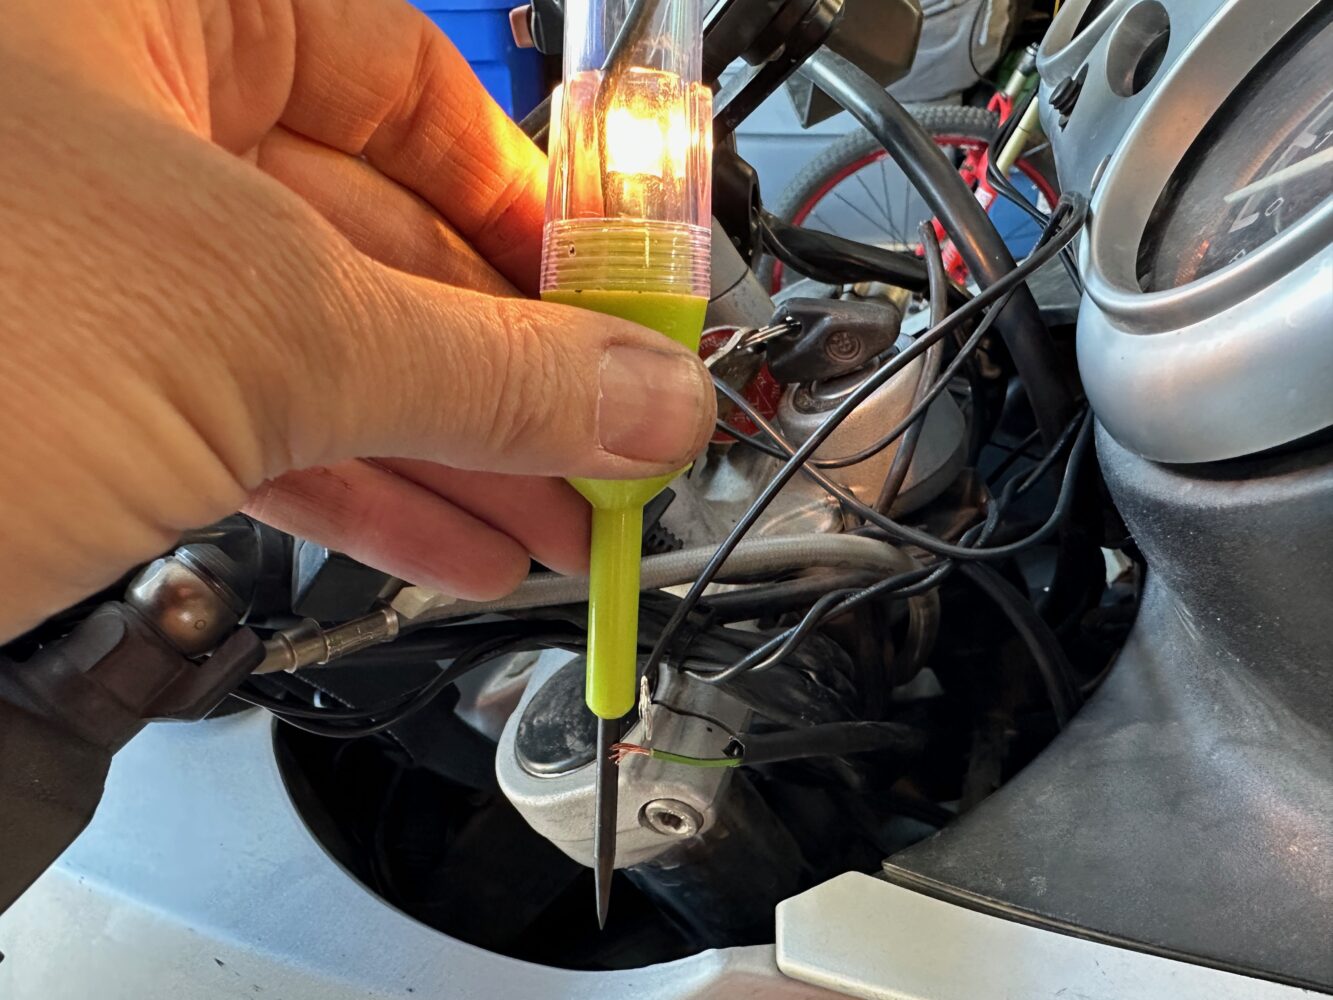
Cheap test lights help find ignition power sources.
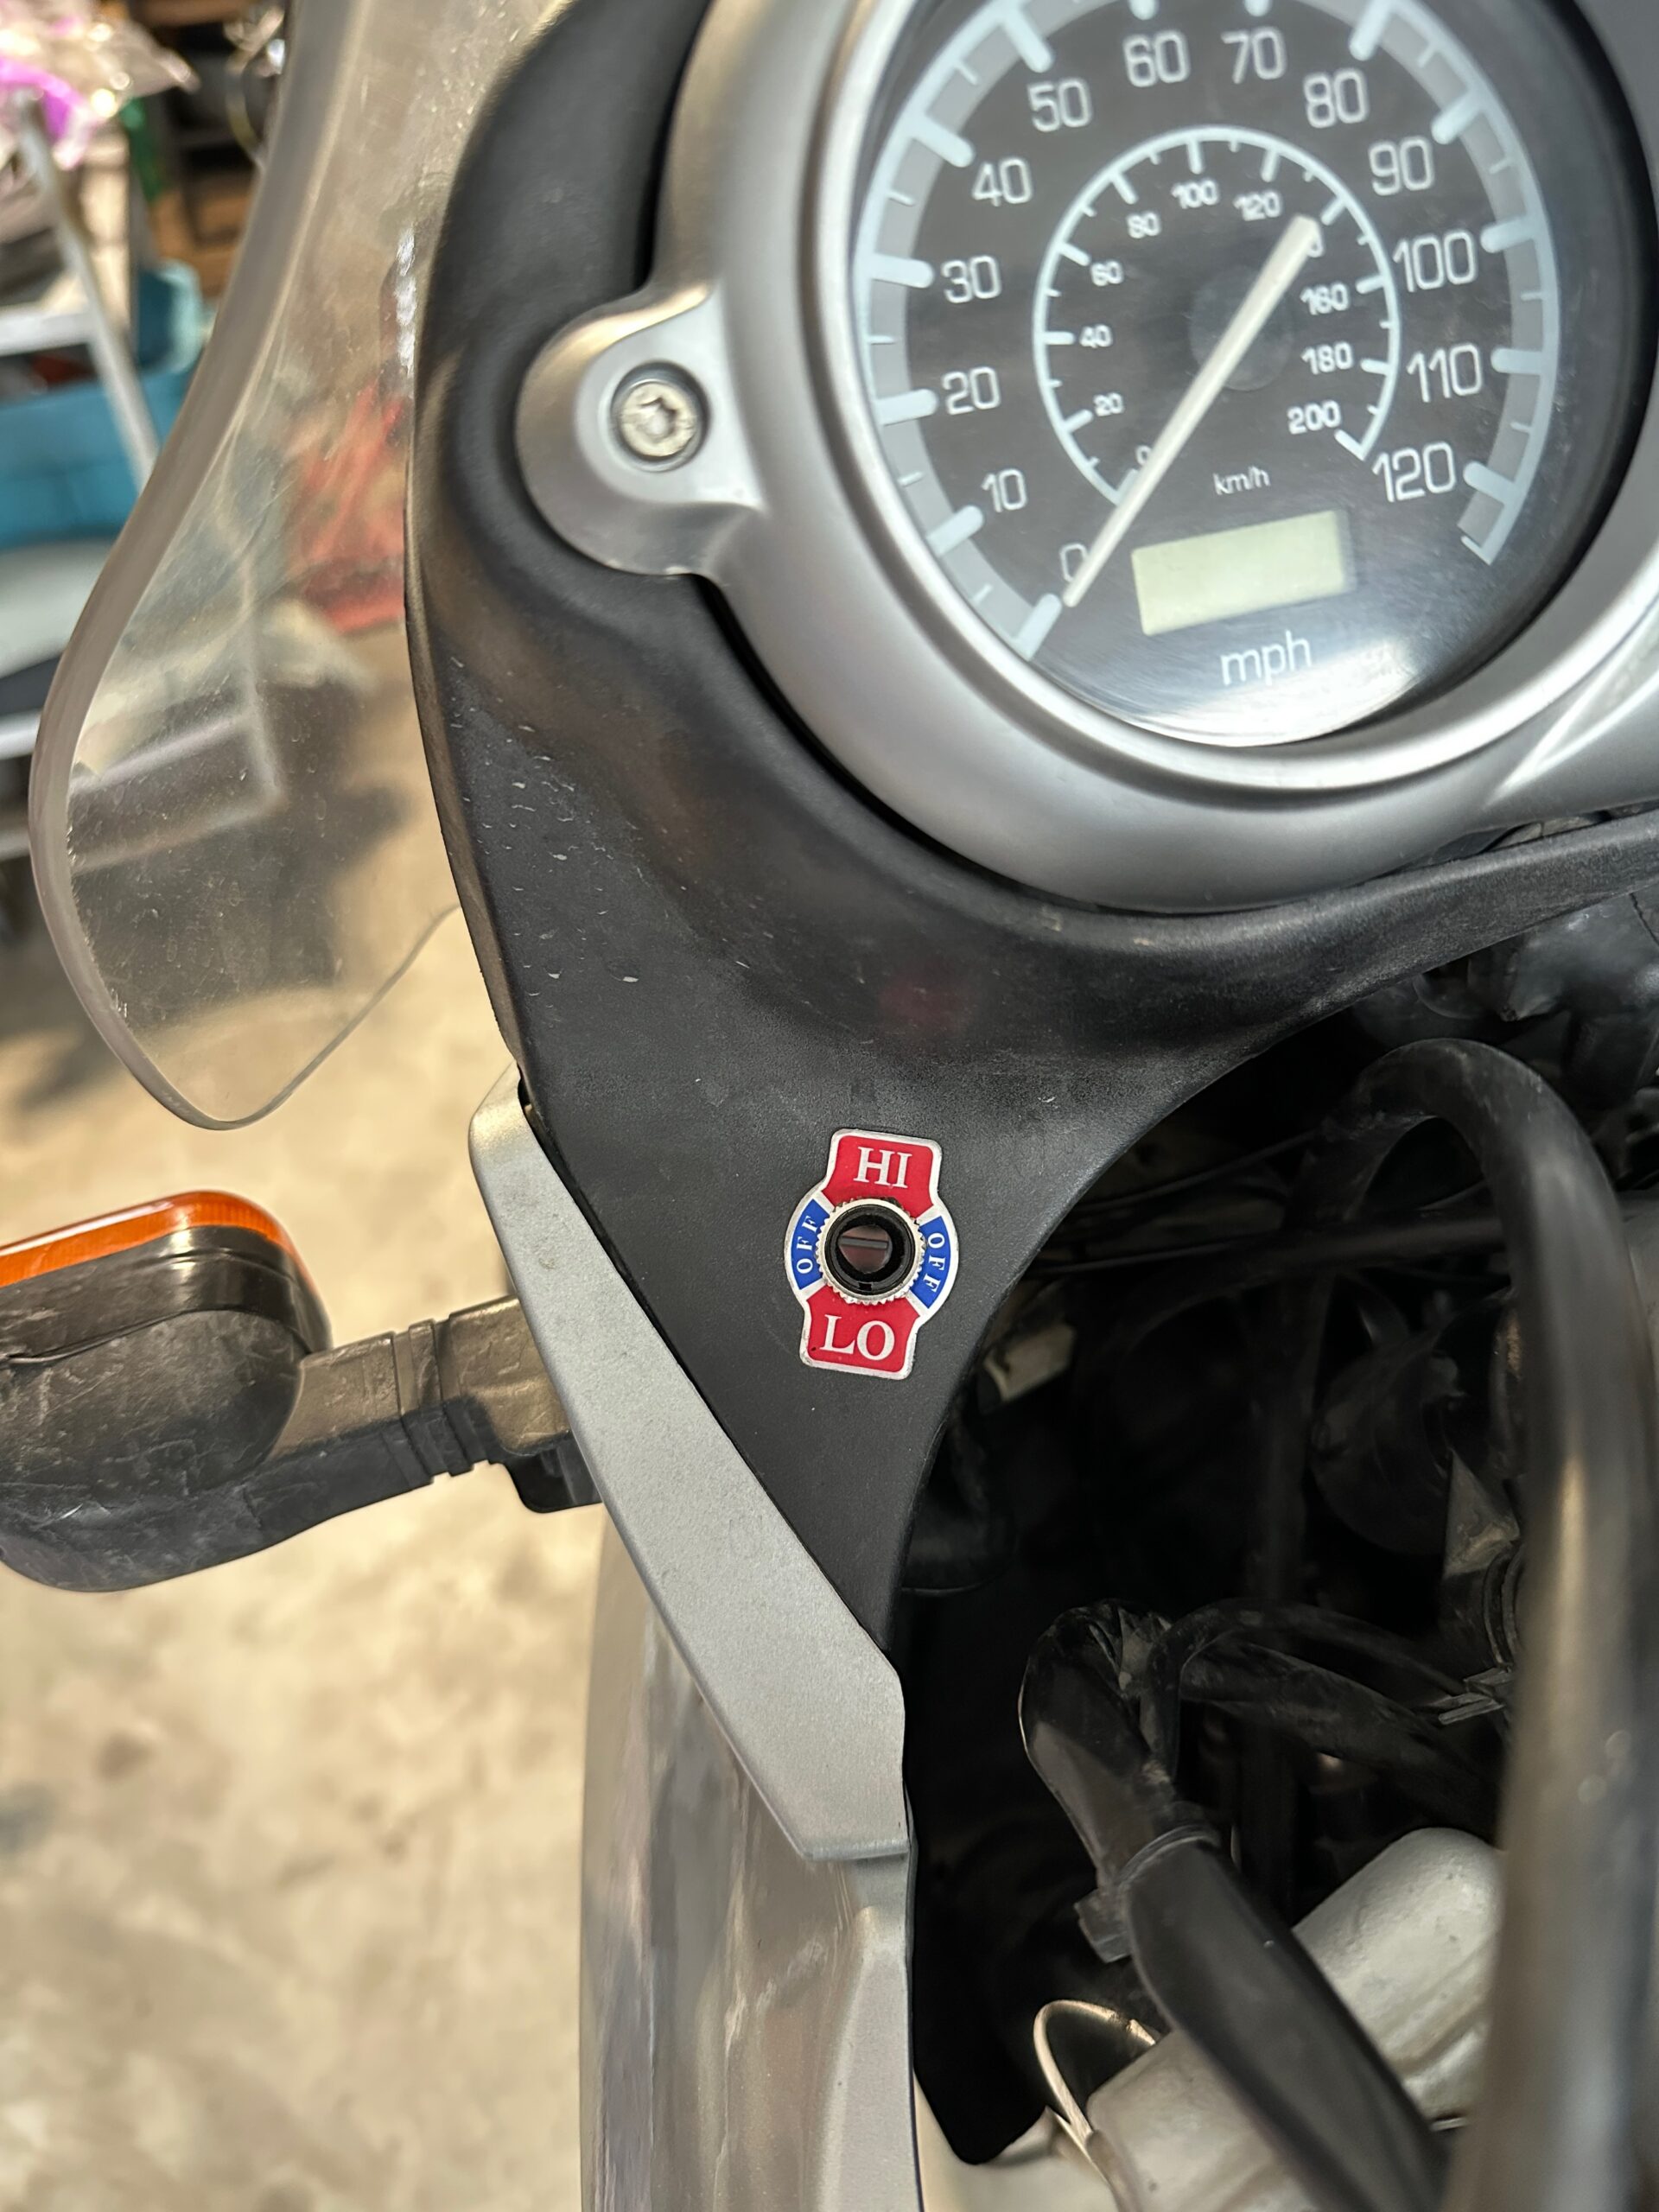
Regarding the grip switch, you need to drill a 1/2 hole “in the panel somewhere easy to reach. Pay special attention to the space behind the hole, as there is a need for enough space to cover the switch and wires connected to the back. You need two inches of minimum depth.
-
- One of the advantages of riding an old motorcycle is the lack of concerns about drilling holes in it.
5.) Peel the support of the elements, and the stick to the handle. Take the time you get the right position, as the adhesive is quite strong, and adjusting it when stuck is almost impossible.
6.) Run your handle long wiring towards the bike center, securing with the cable bond or the existing wire management fastener along the way. My handlebar has an easy hole in running my wires in the bar itself next to the clutch. You can, at this point, install your new grasp, or old if you can preserve them. Wrap the electric tape that quickly protects the solder connection to the elements.
-
- My BMW has an easy hole in the stick to run the wire.
-
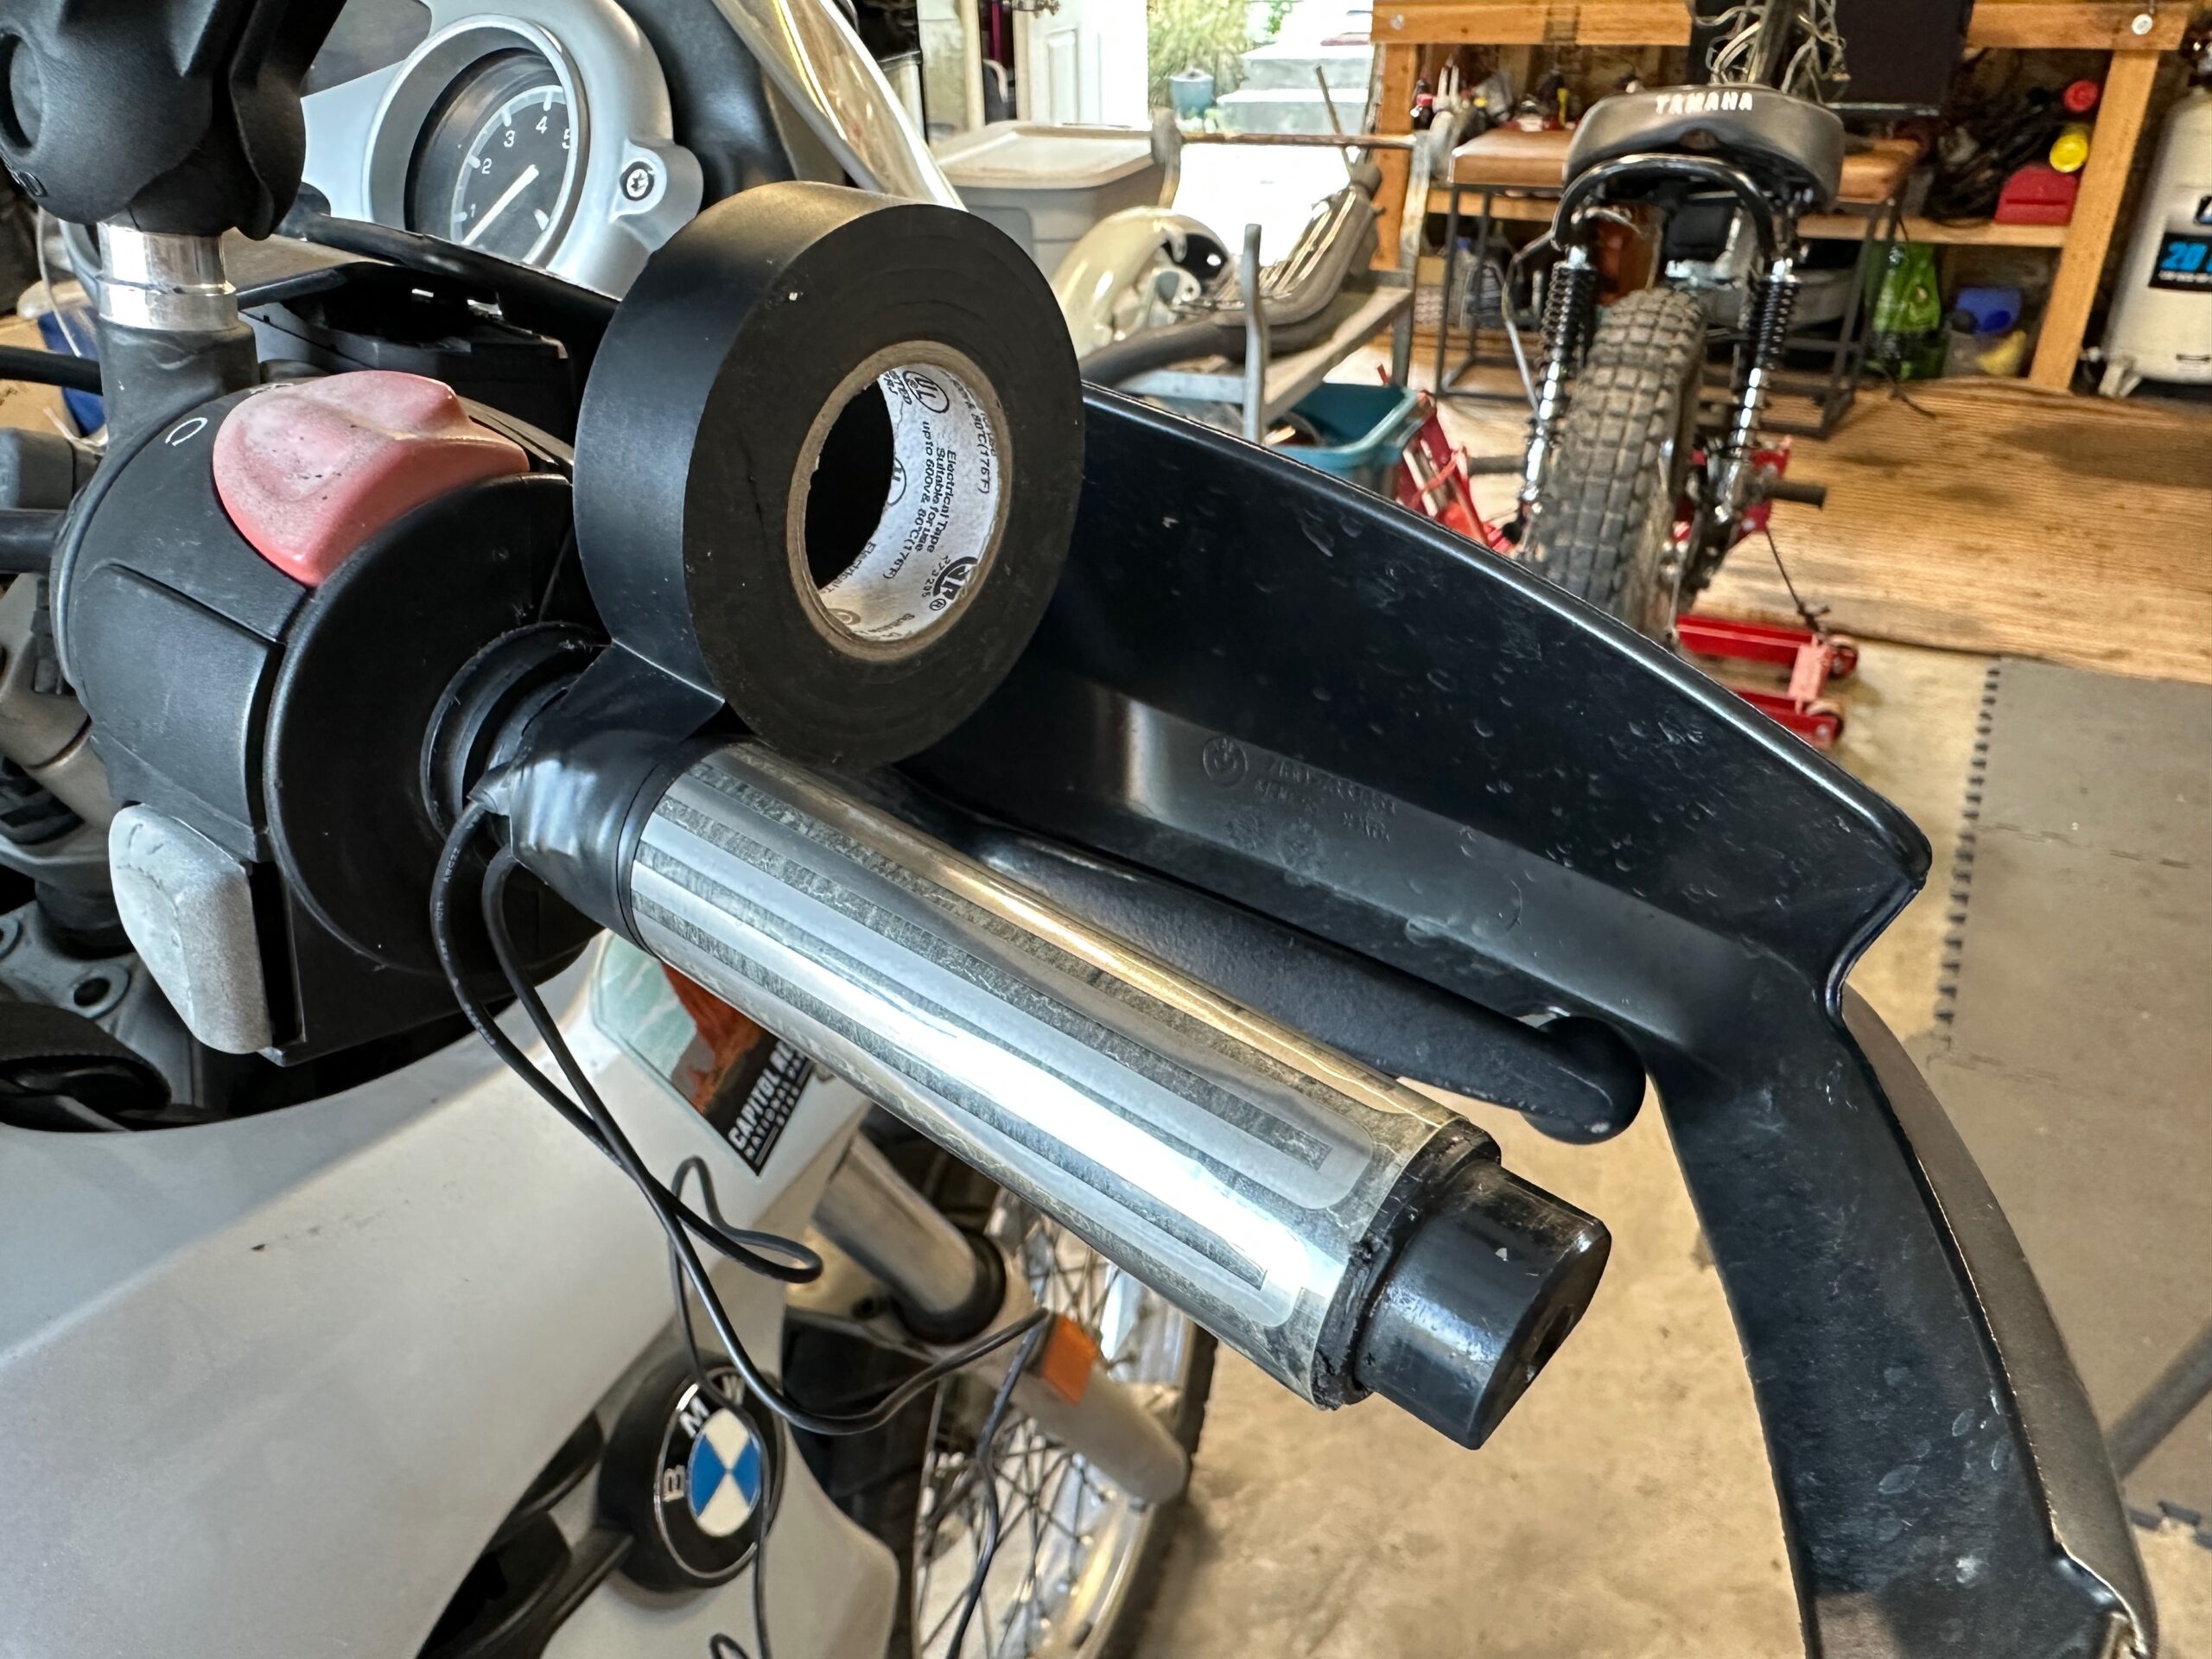
- Wrap electric tape that quickly protects the solder connection.
7.) With wiring in the location and location of the switch, you can now start connecting electricity. The Tusk kit is equipped with a “fast” style connector to knock into the power wire. The only place where this connector is in the barrel. They are not water -resistant and tend to have weak continuity. Use a high quality seamless seam connector and shrink heat instead, or my favorite style of solder back, ensuring a tight water connection. Remember to disconnect your battery for this splicing step to avoid shock and shorts.
-
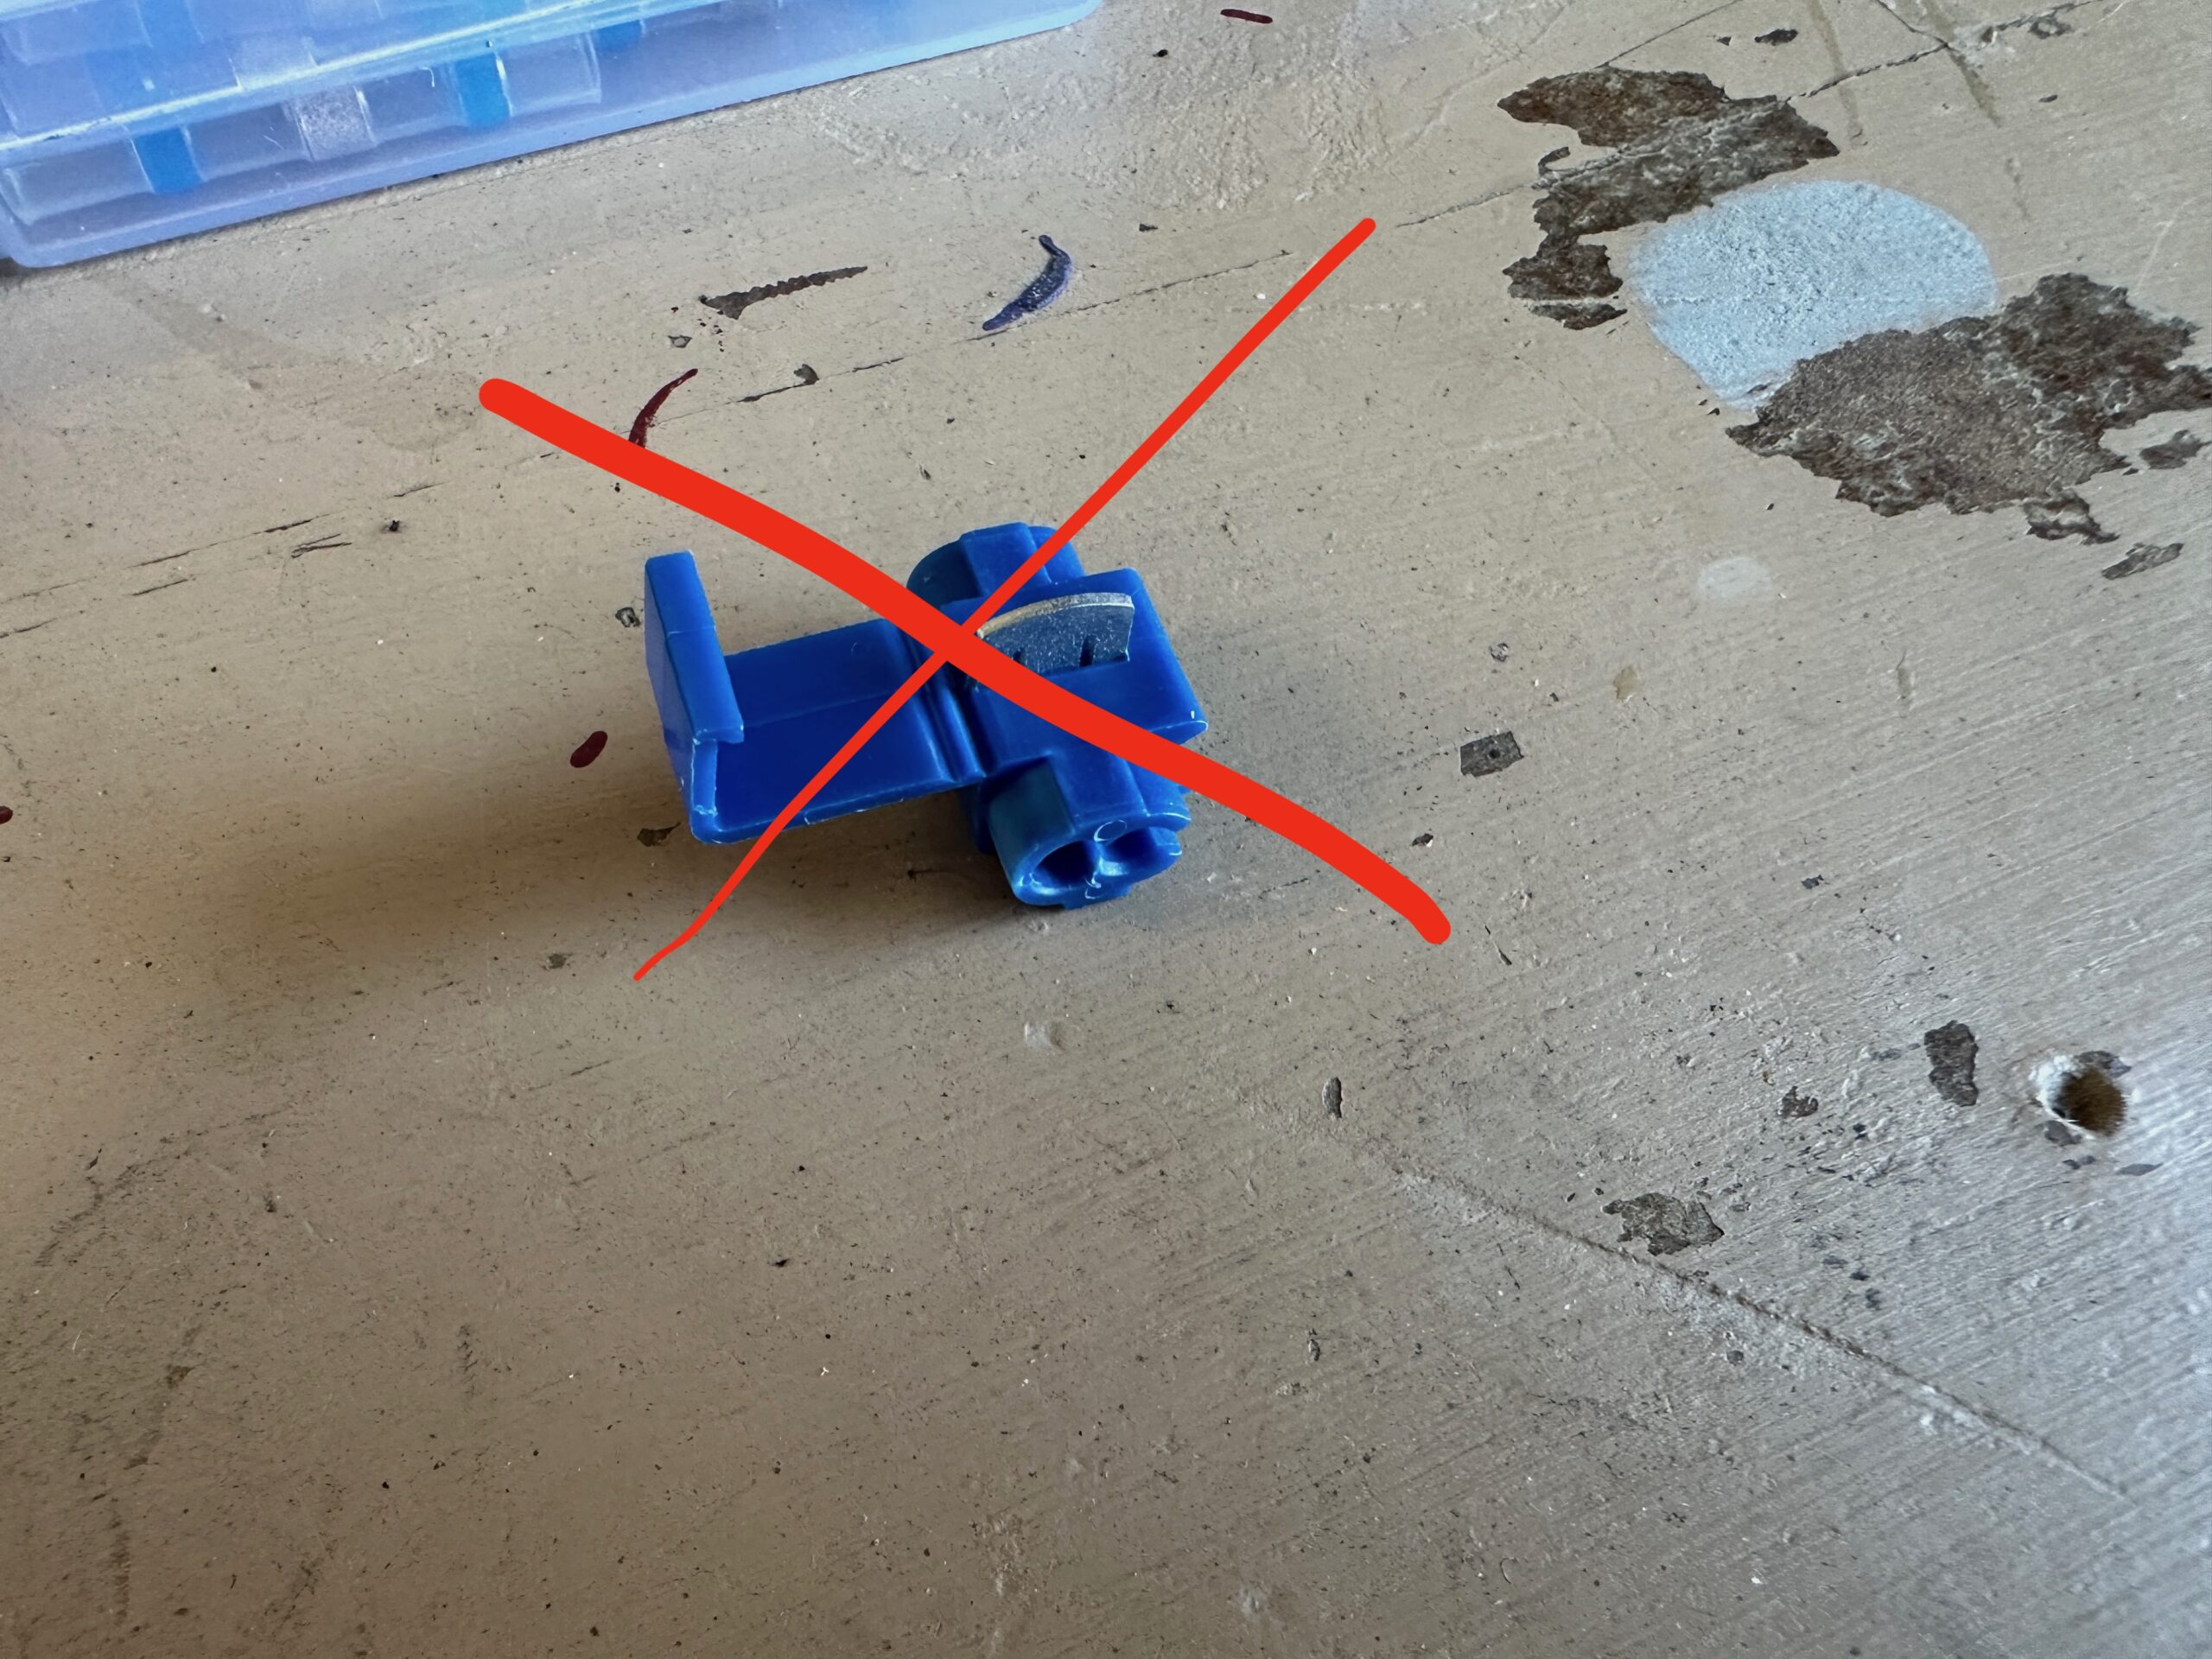
- Throw this.
-
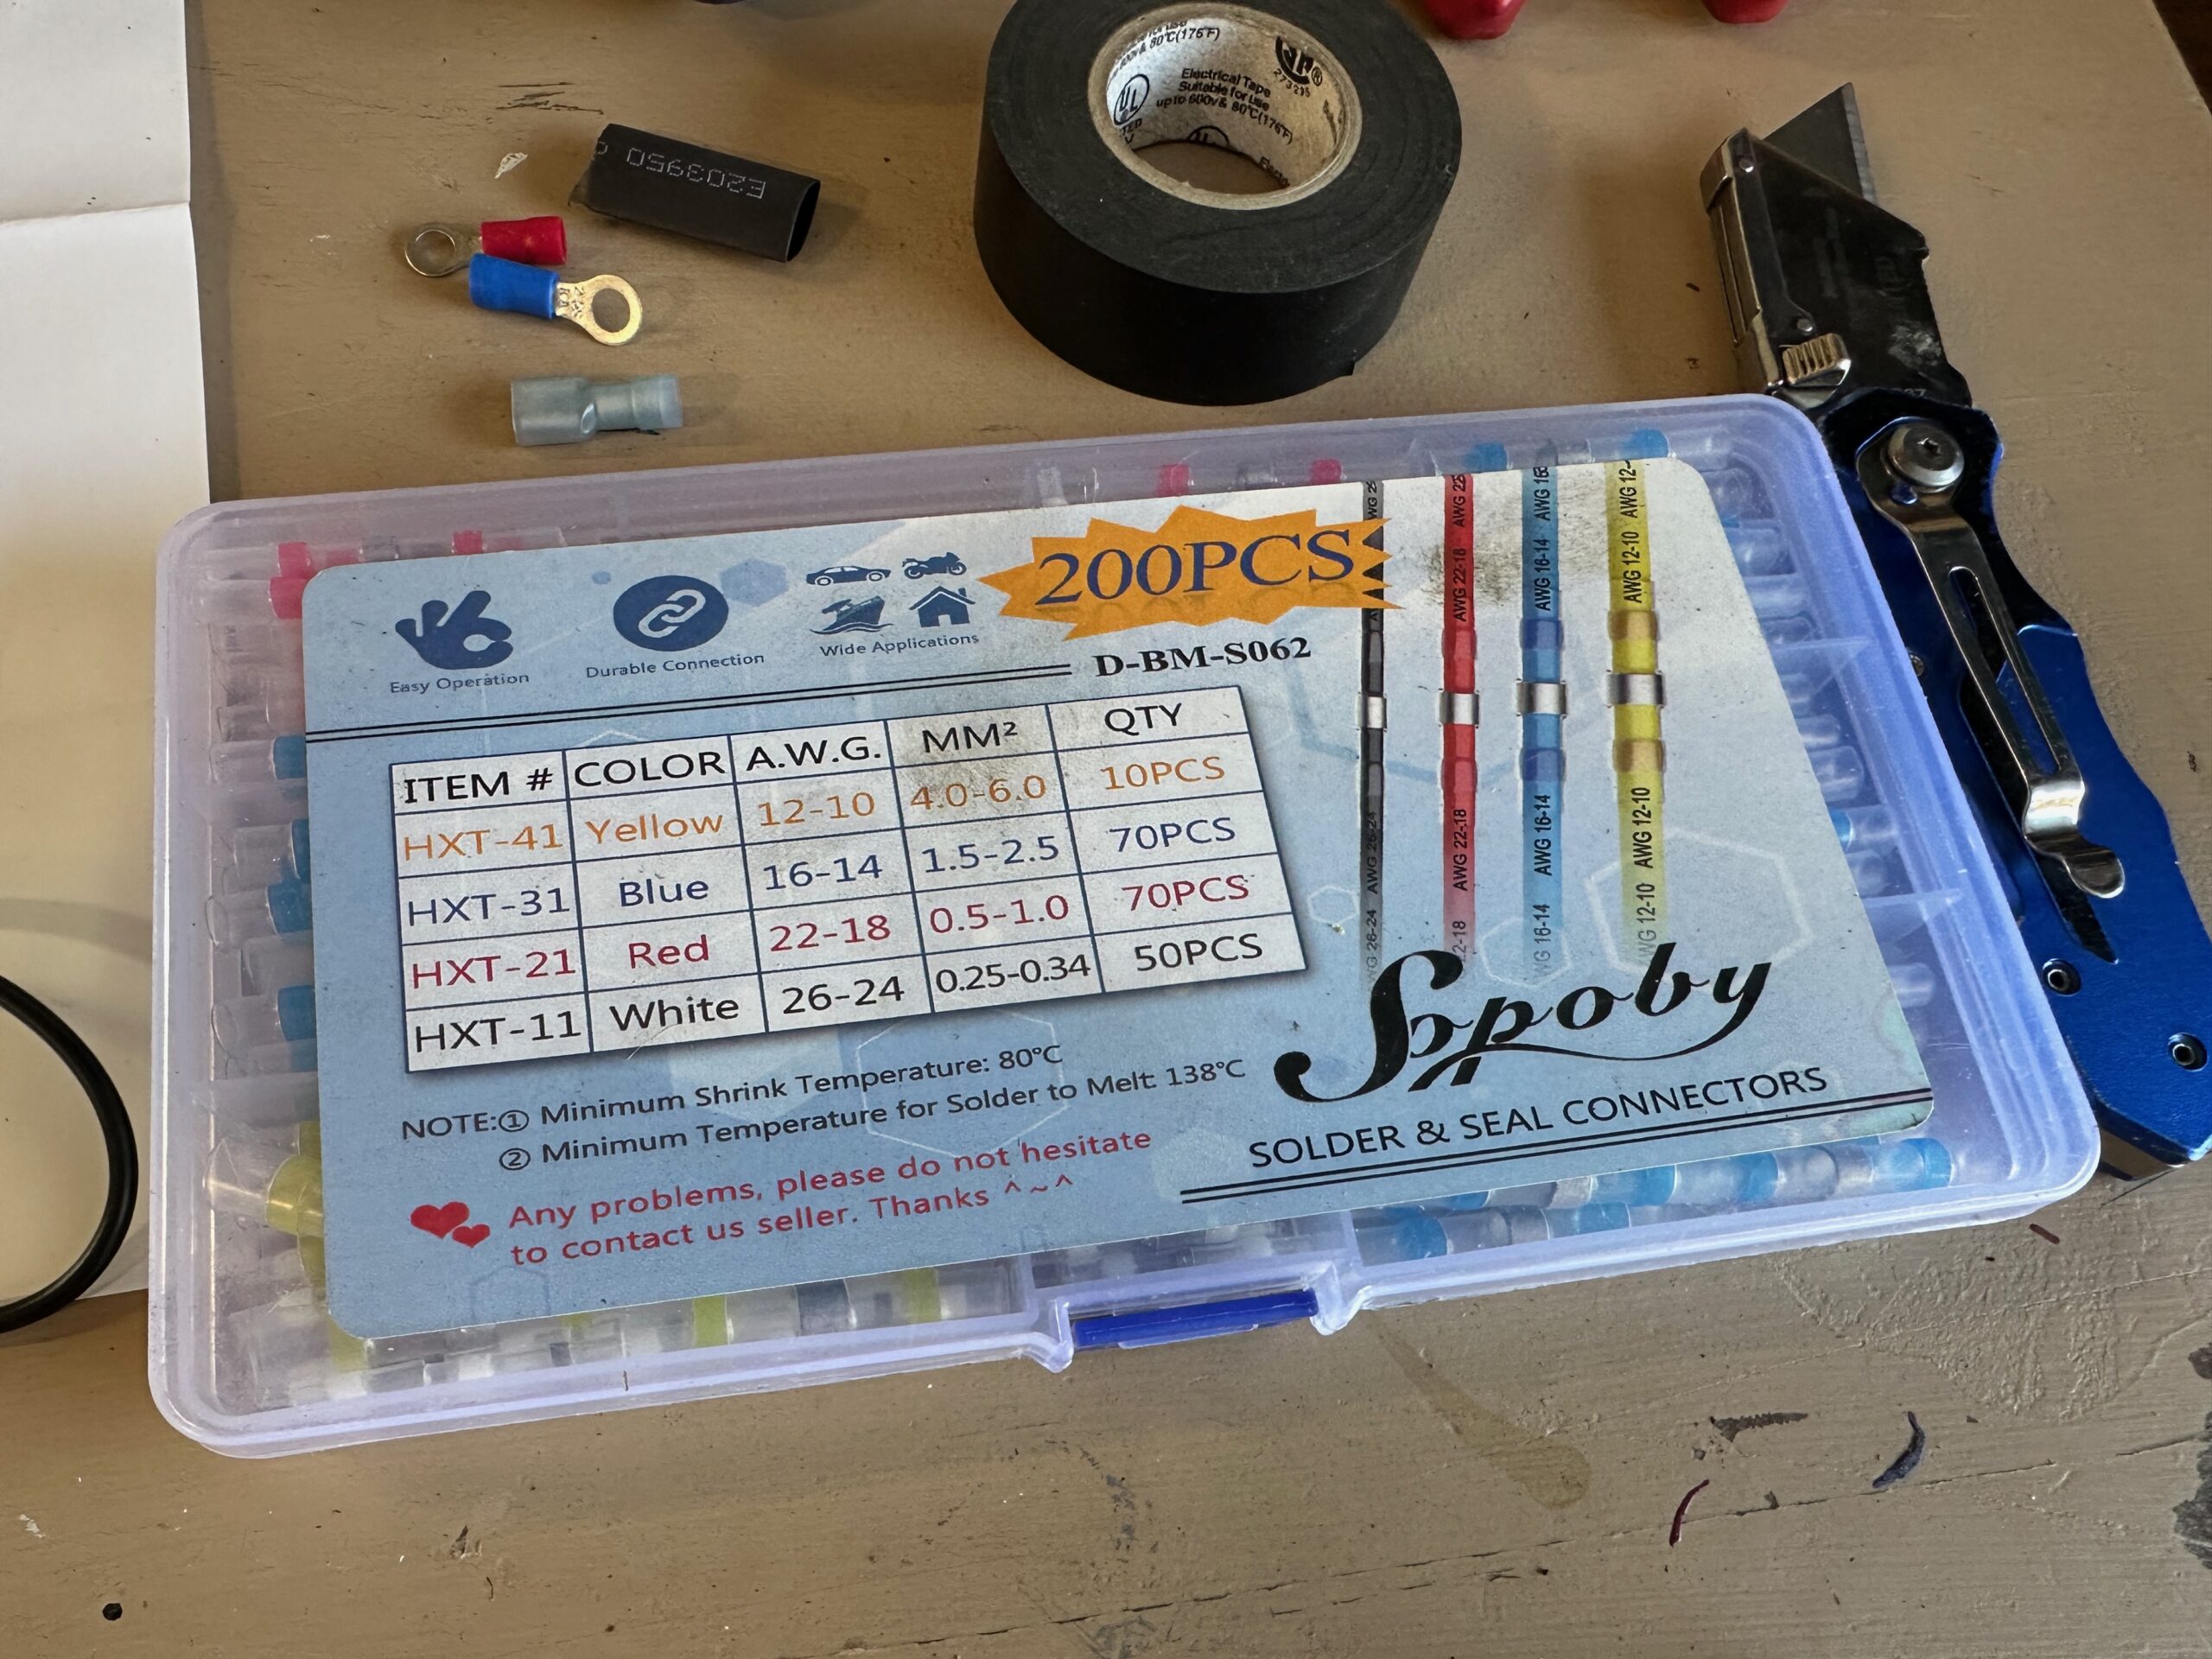
- Heat-shrink connectors can be purchased cheap online.
-
- Use the correct size connector and heat pistol for strong connection and water sealing.
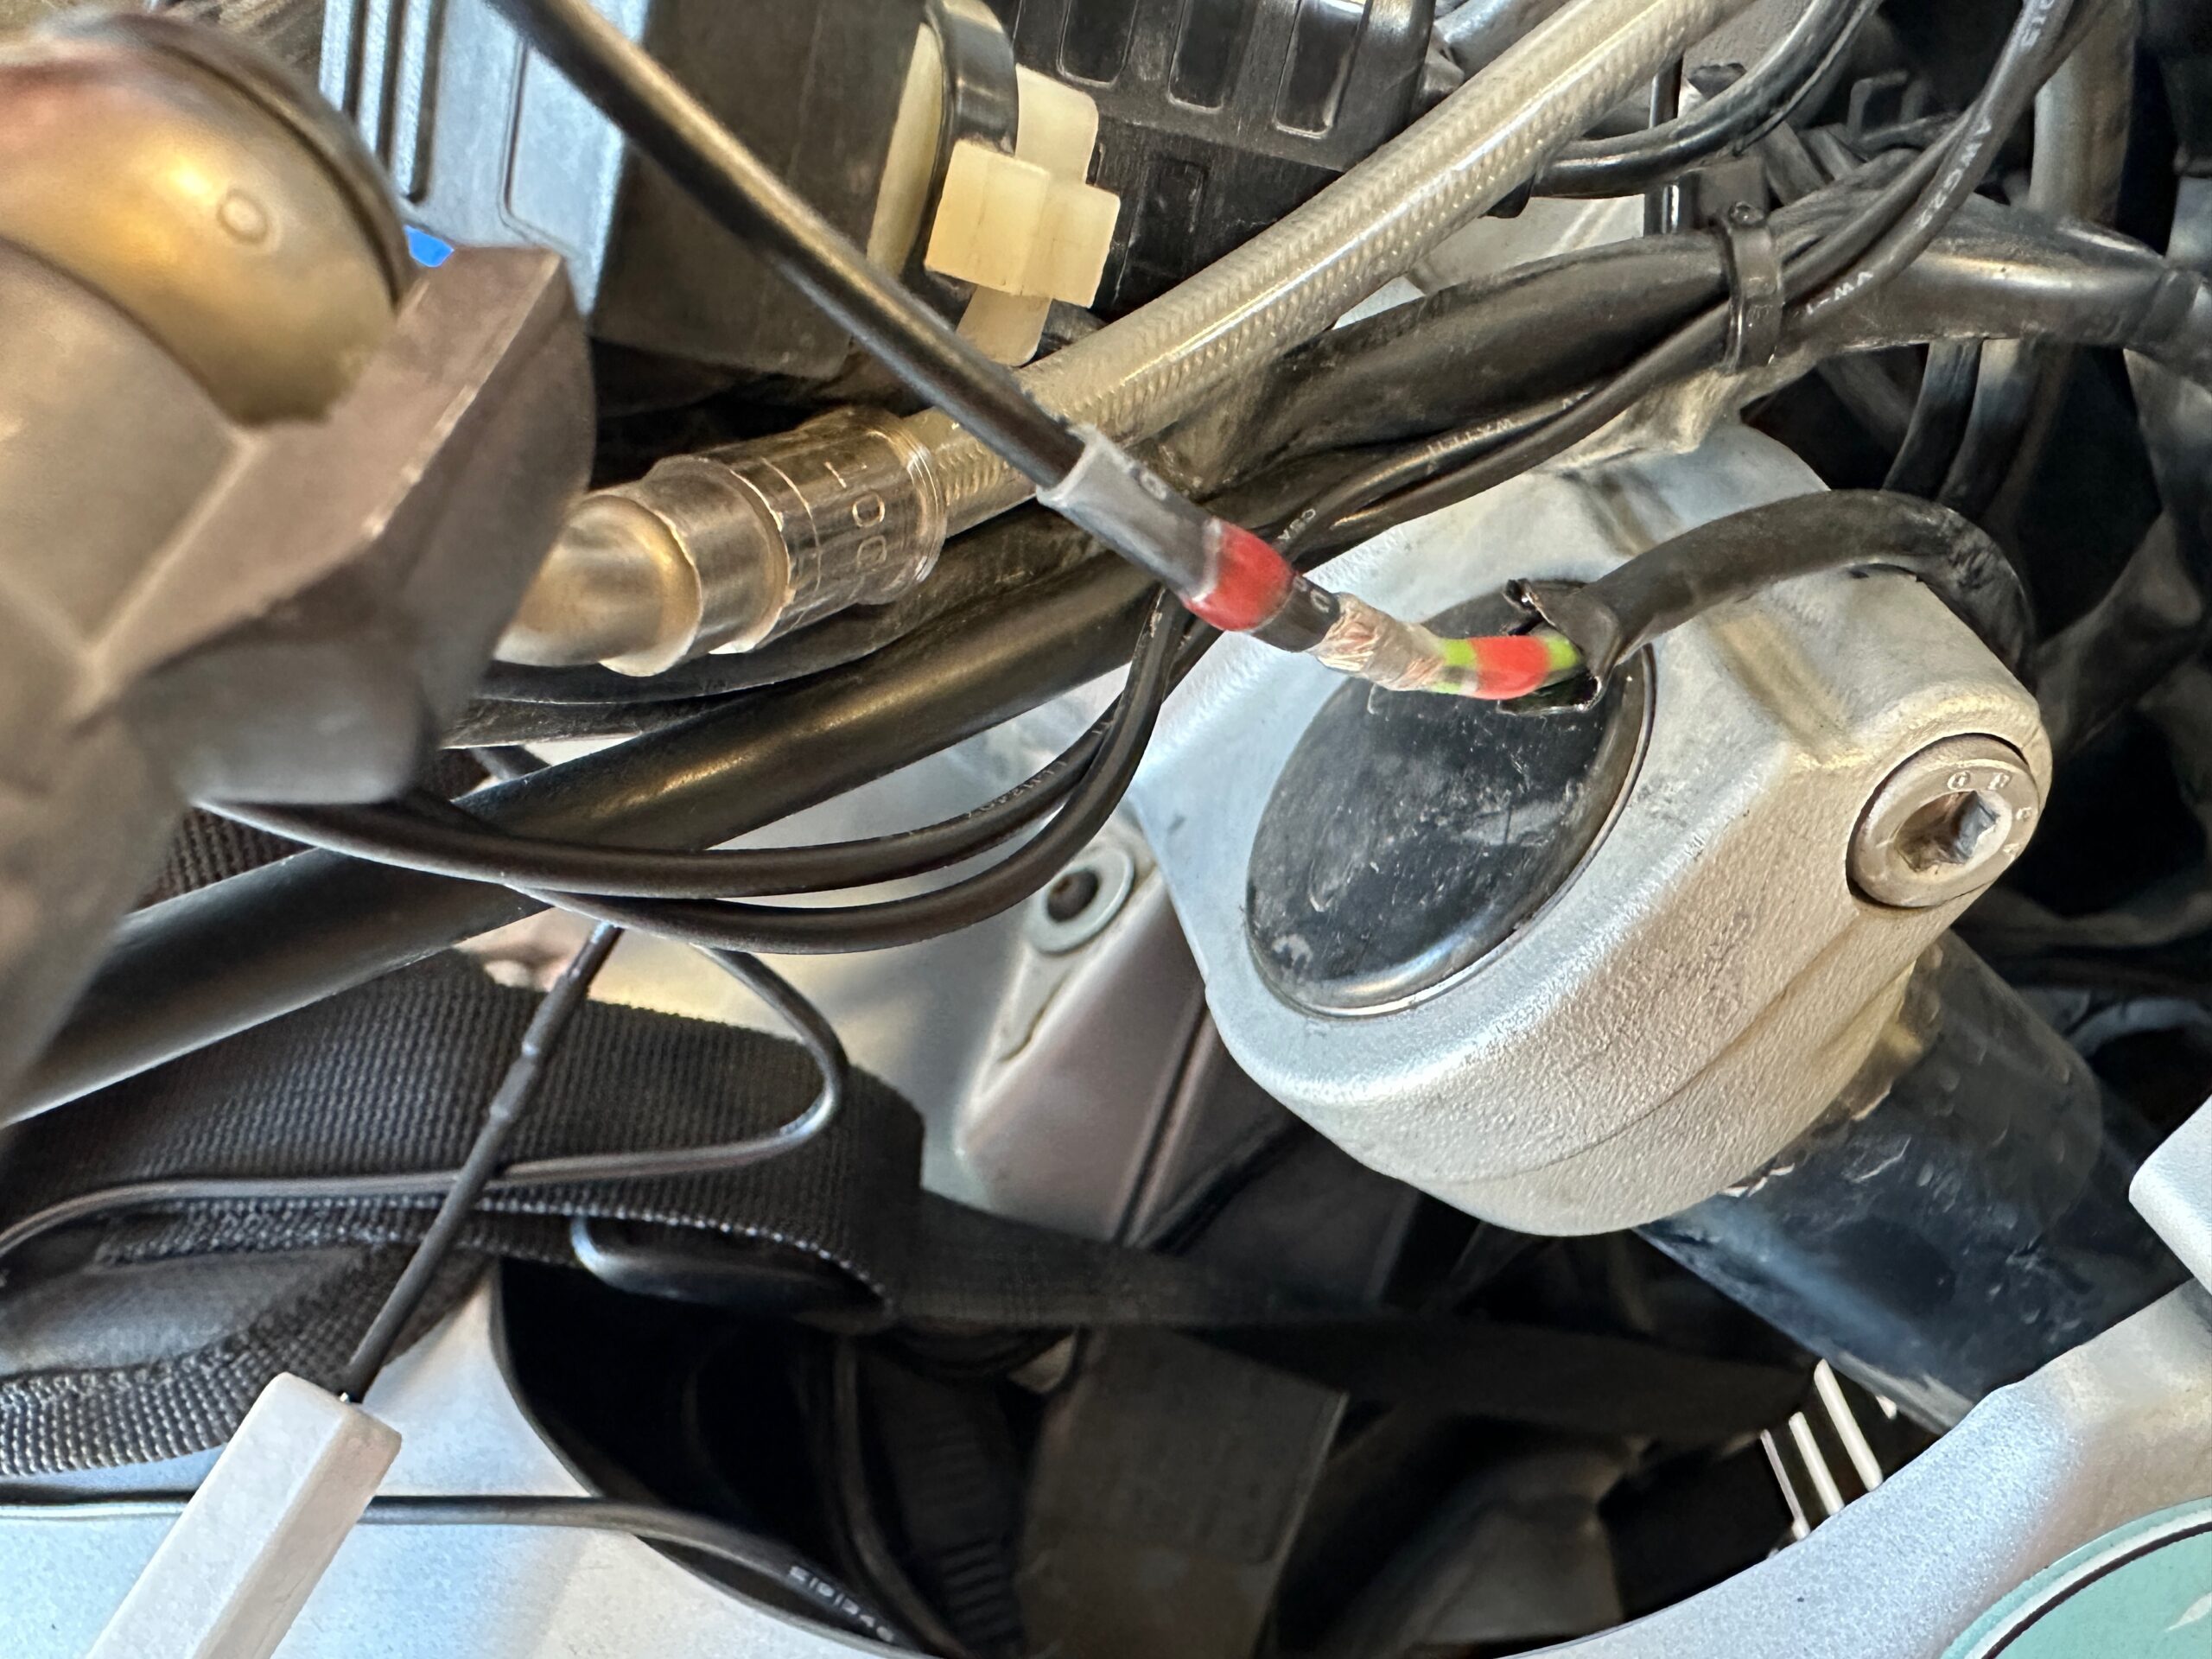
Connect power, ground wire, and all wires to heating elements and switches according to the included wiring diagram. Put the switch in the hole, run all the wiring and away from the area where it may be shocked or too exposed to elements, and safe with cable bonding.
8.) Reconnect the battery and test the second system on high and low settings before reinstalling any body work that you may have been released.
Test the system before cultivating your body work.
Conclusion
With the autumn knocking on the door, my GS is finally ready to ride the cold weather. The entire installation process, moving methods and taking pictures, only takes about 45 minutes. At more than 20 dollars, the Tusk grip heating kit is a good value, especially for bargaining basement bikes like me, but we will see how the components are durable. The system is not united, wiring is slightly thin, and connections for online resistors that control high settings are very exposed and fragile. The high setting is legally, though, even through my water-resistant winter gloves, which I will definitely wear during the cooler riding months in the west of Montana.
Rocky Mountain sells other grip heaters at a higher price point, most of which include heating elements integrated into the grip itself (similar to my old BMW heater). An advantage of a universal kit is that you can use your choice of choice, and when they are inevitable, you can change the new ones without having to replace the entire system.
Tusk grip heating kit | $ 23
Read more: Exclusive Expedition Portal :: Sneak Peek at Montana Backcountry Discovery Route (BDR)
Compromise clauses are not: we do not accept advertisers’ content or allow advertising to affect our coverage, and our contributors are guaranteed editorial independence. Overland International can get small commissions from affiliate links included in this article. We appreciate your support.